
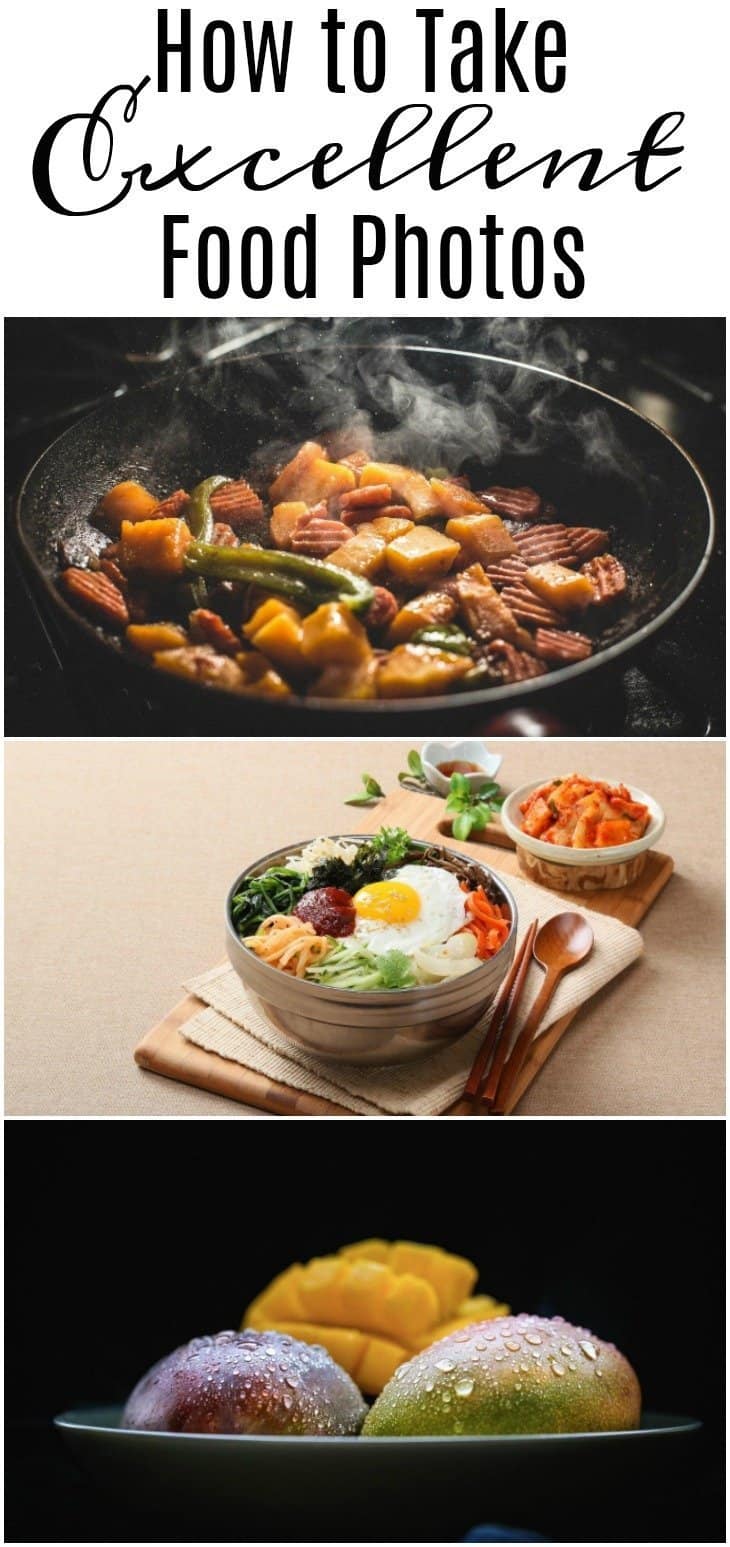
Believe it or not, it doesn’t require a professional photographer to produce beautiful, mouthwatering food photos you often see on Pinterest or in your favorite food blogs.
You can definitely take those photos yourself, although there are a few things you’ll have to keep in mind.
If you’re an aspiring food blogger, the tips below should be helpful for you.
1. Pick the right gear
Ideally, you will need a digital SLR or mirrorless camera. It won’t be necessary to go for the most expensive camera, but you do need to pick one that will give you the ease of use and flexibility that fits your photography skill level.
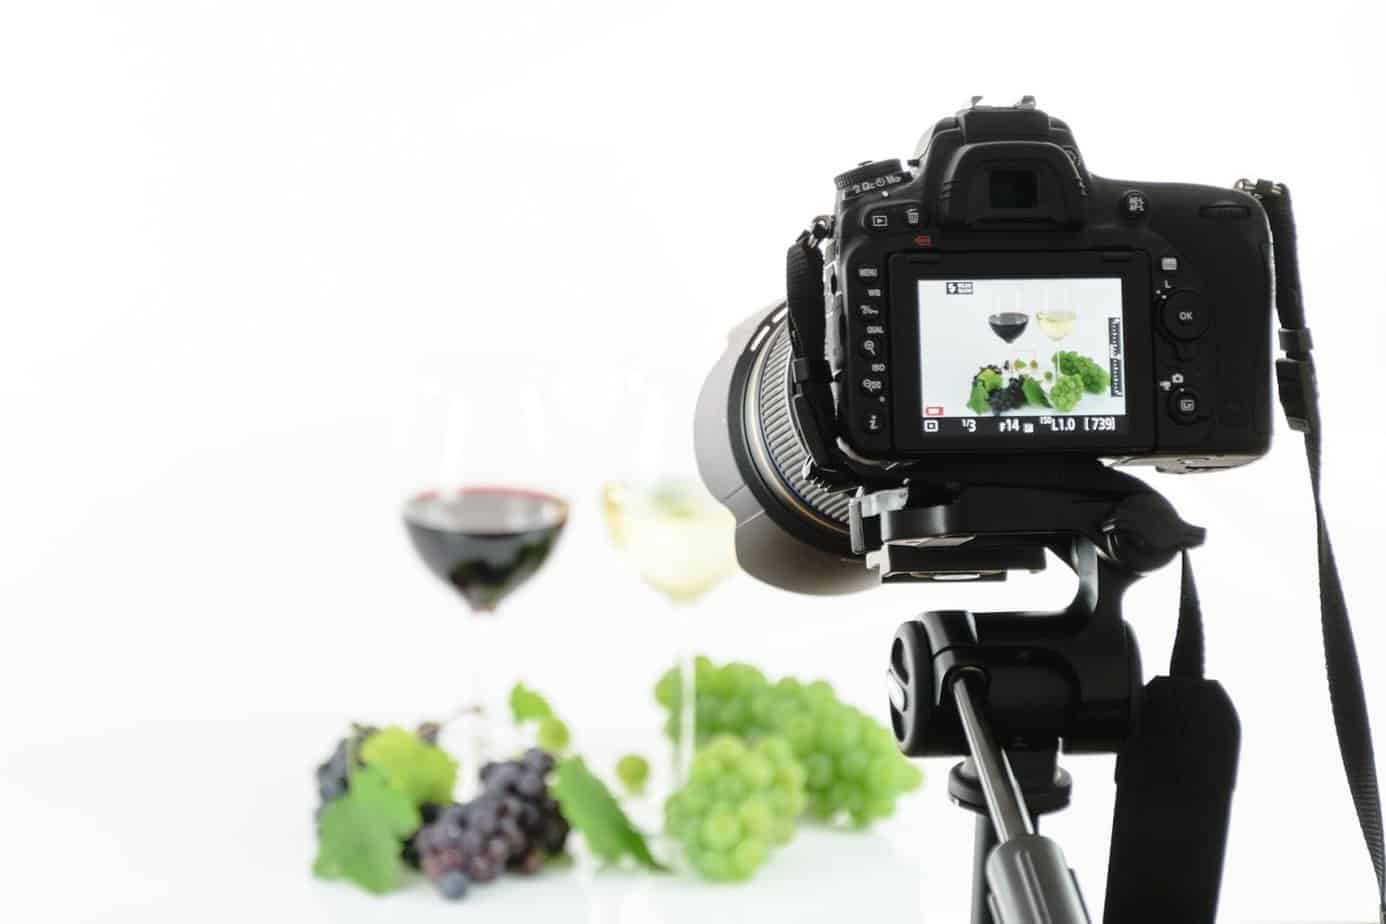
Lenses also play an important role in getting the photographic results you want, so you will want to invest in them as well. For food photography, experts usually recommend a macro or telephoto (or both).
2. Learn the basics
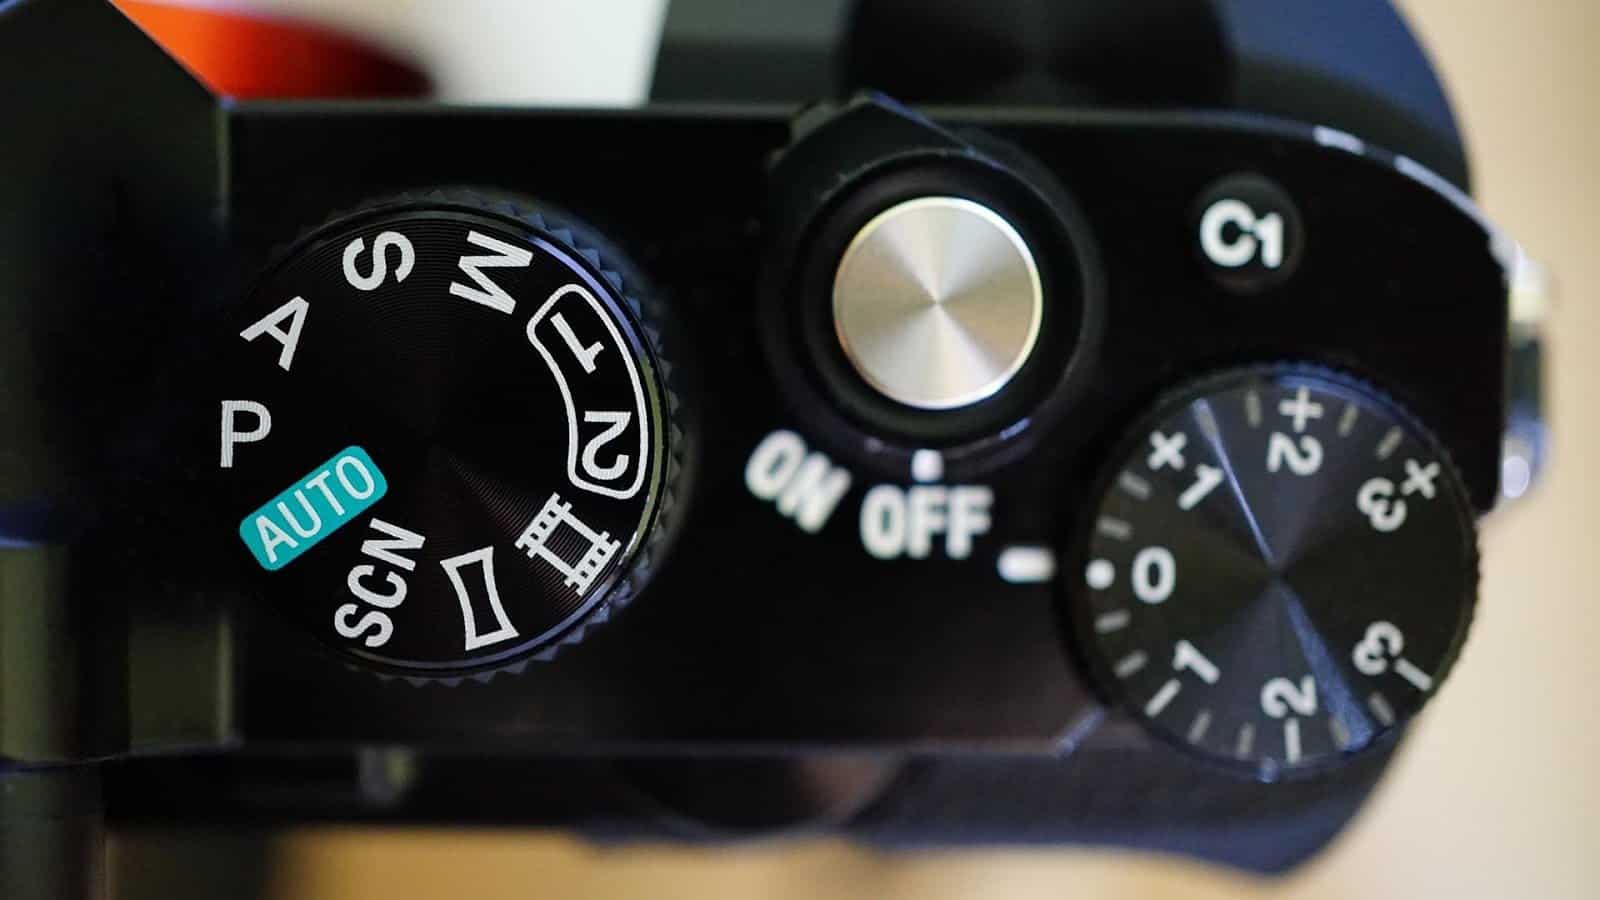
Despite what smartphone makers would have us believe, a professional-quality picture is not something you can just produce with the press of a button. A professional camera is still your best bet for stunning food photos, but using them will require basic photography know-how to be utilized effectively. If you have no idea how to use a DSLR or mirrorless camera, your only option is to learn.
Scour the web for informative articles and instructional videos to learn more about how to navigate the menus and controls of your camera, as well as different shooting settings to achieve properly exposed photos.
3. Be mindful of the lighting
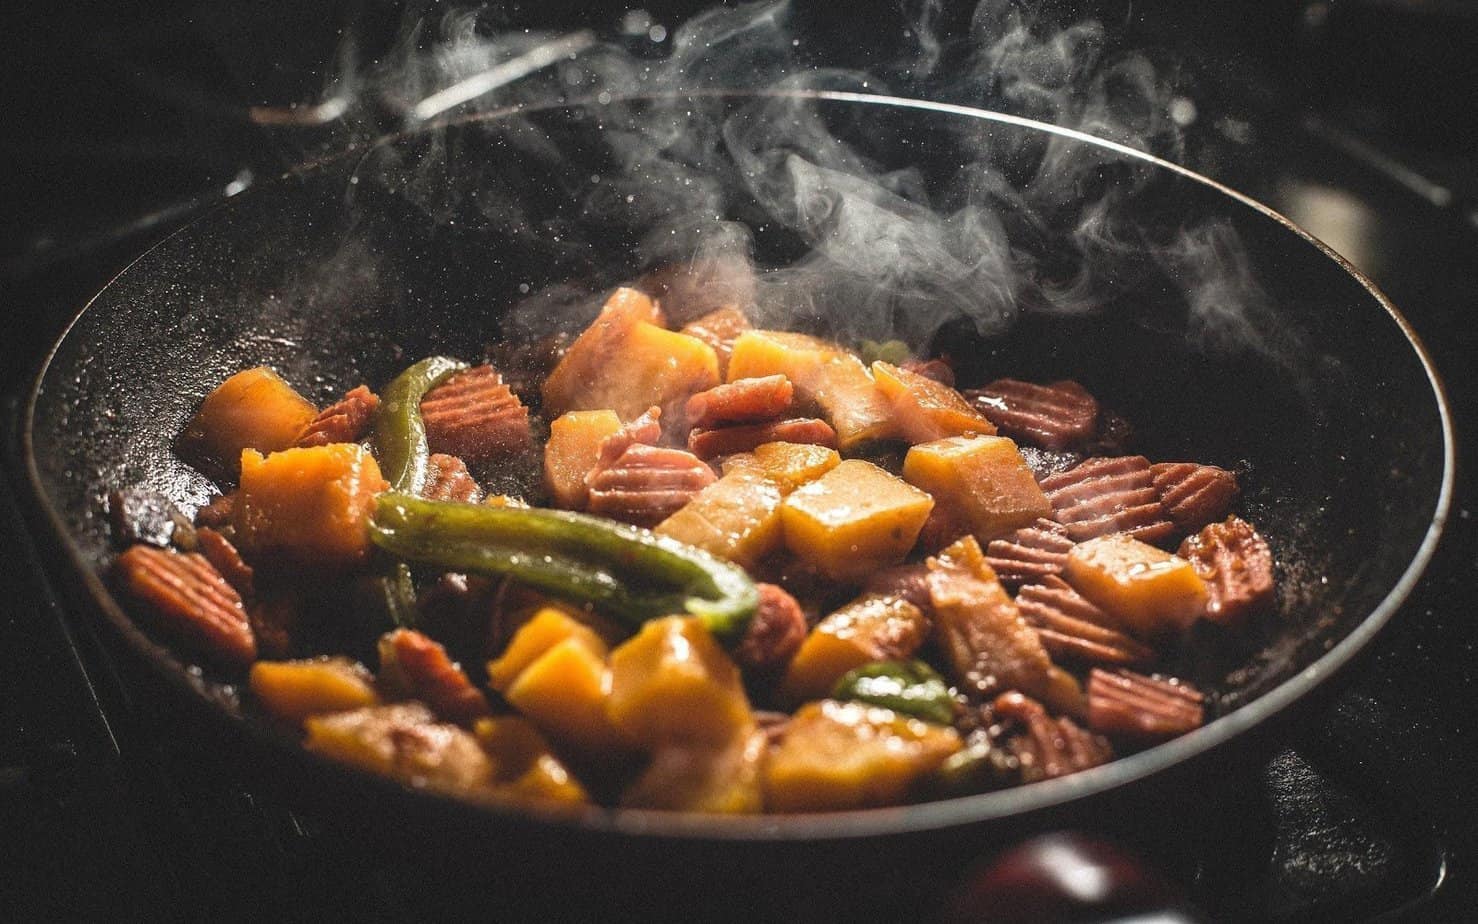
Once you’ve learned how to shoot, take the time to learn about lighting and how to achieve the best lighting setup for your shots.
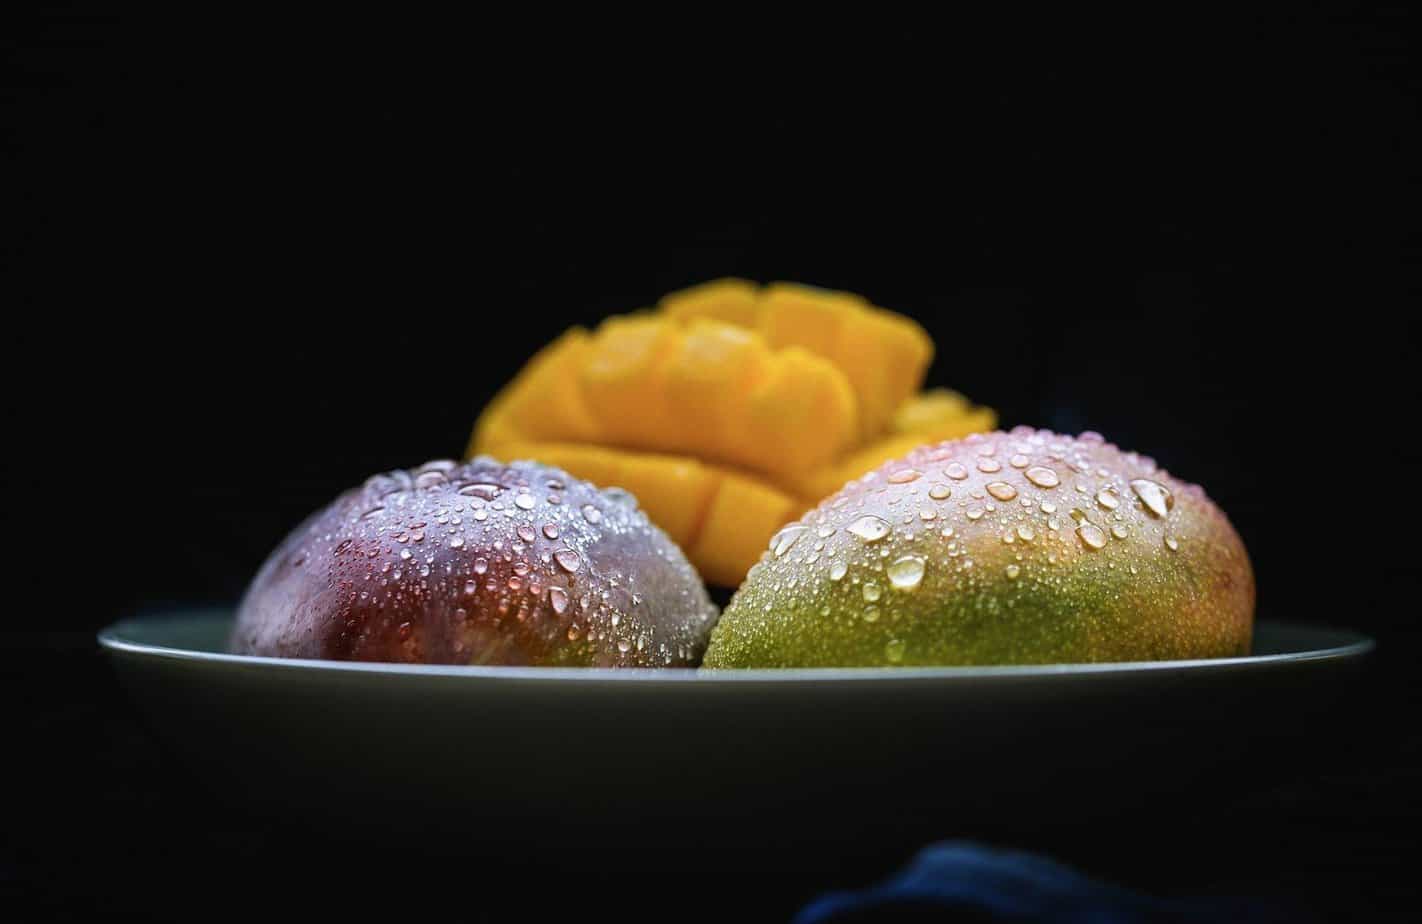
One of the secrets to taking appealing food photos (or any photos, really) is good lighting. Setting up a backlight will bring out the unique texture of your subject and make it look better on camera. Also, when used on dishes that are hot or in the cooking process, lighting will help emphasize the steam, making it look more appetizing.
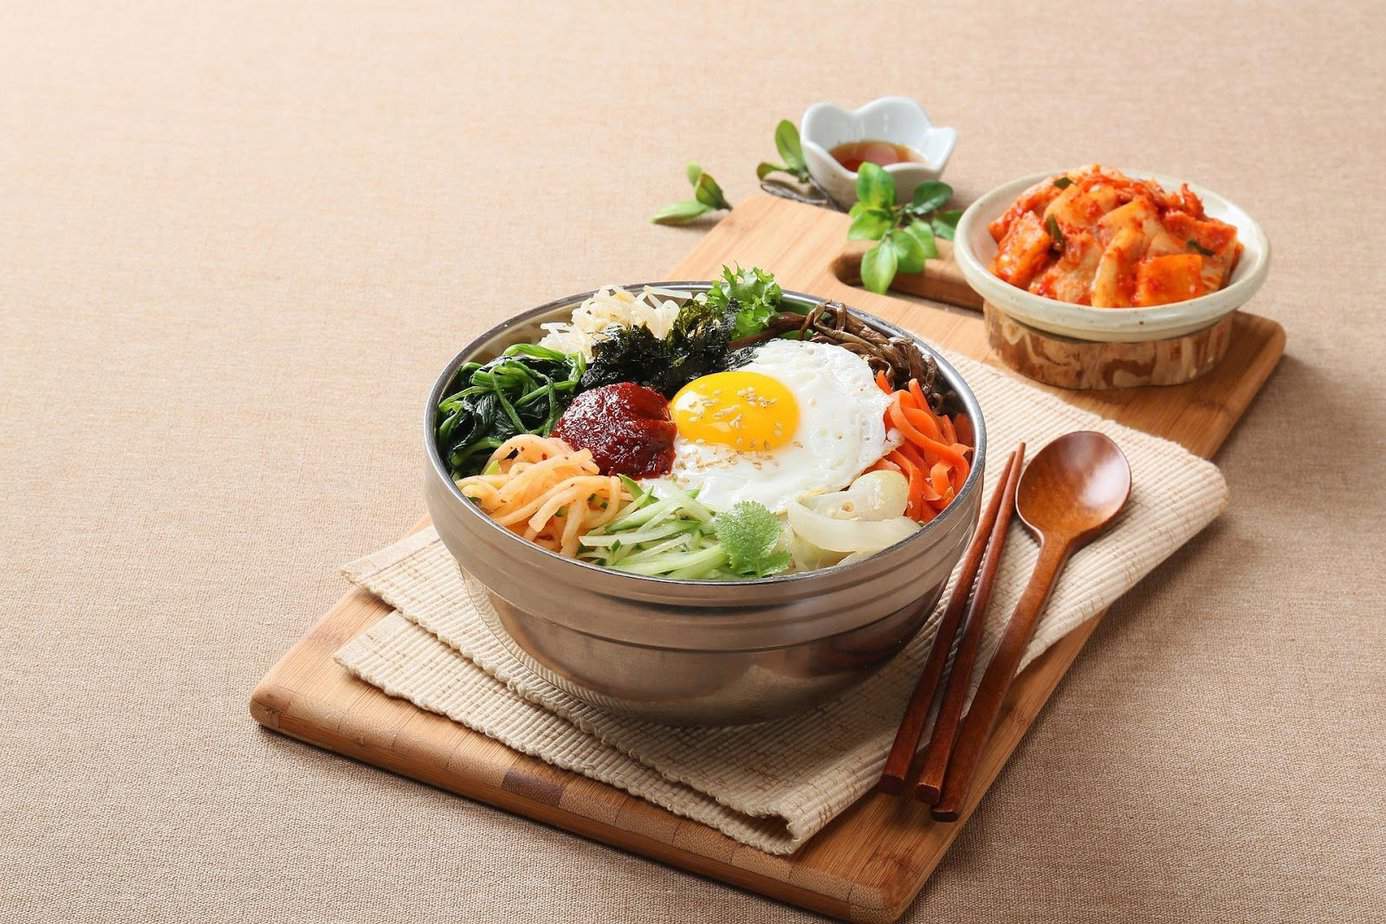
4. Use different perspectives
There is no single best angle in food photography, so feel free to experiment with various angles when shooting your subject. Don’t just stick to one angle, because that won’t always yield the best results. Take photos from different perspectives so that you have more to choose from, then pick out the best angle for the specific dish you are trying to photograph.
Combined with a proper spread setup and framing, this can yield an interesting and eye-catching outcome that helps draw more attention to the food.
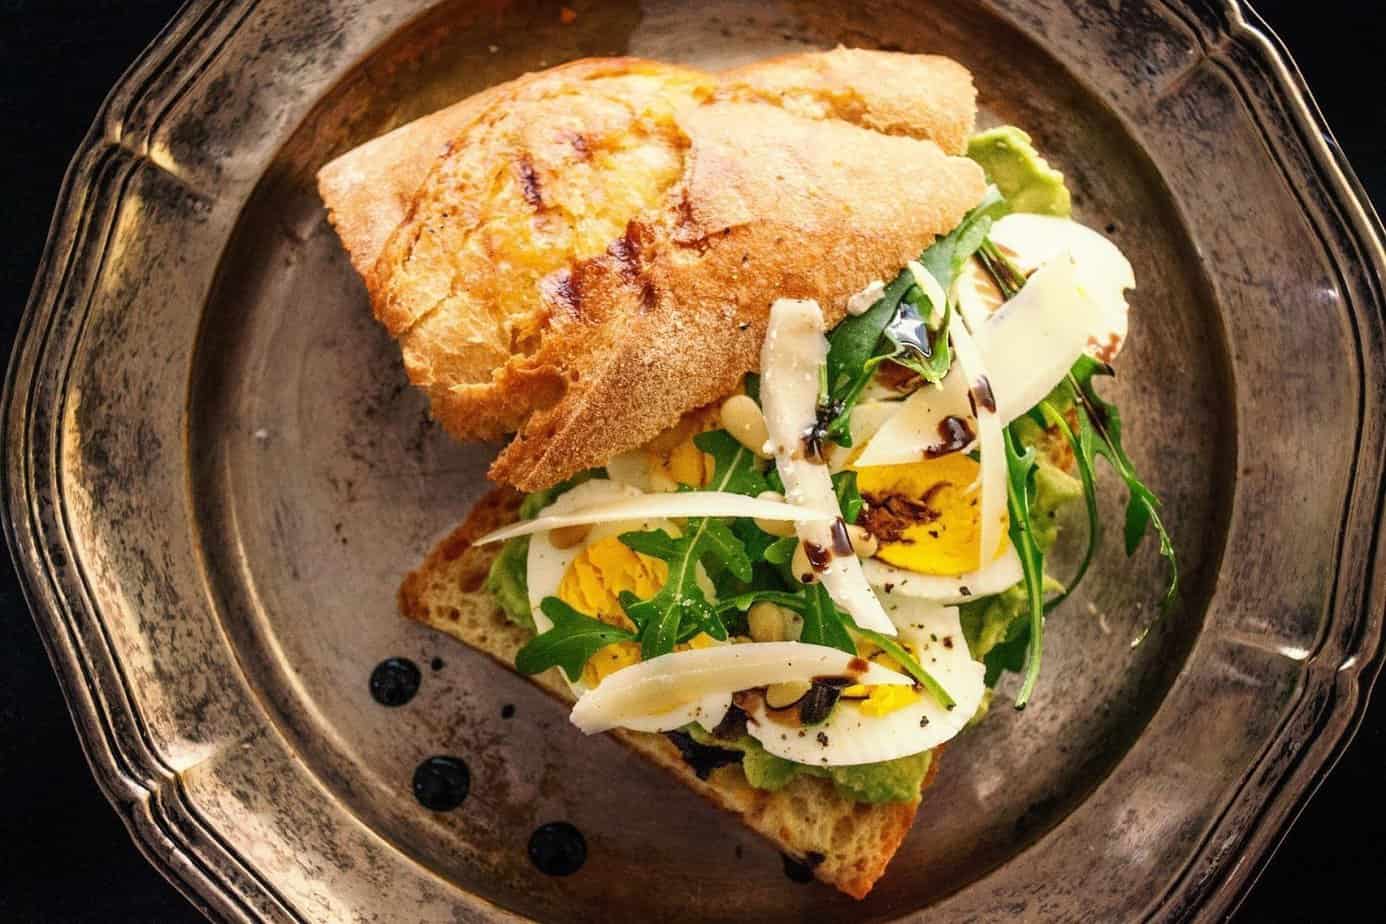
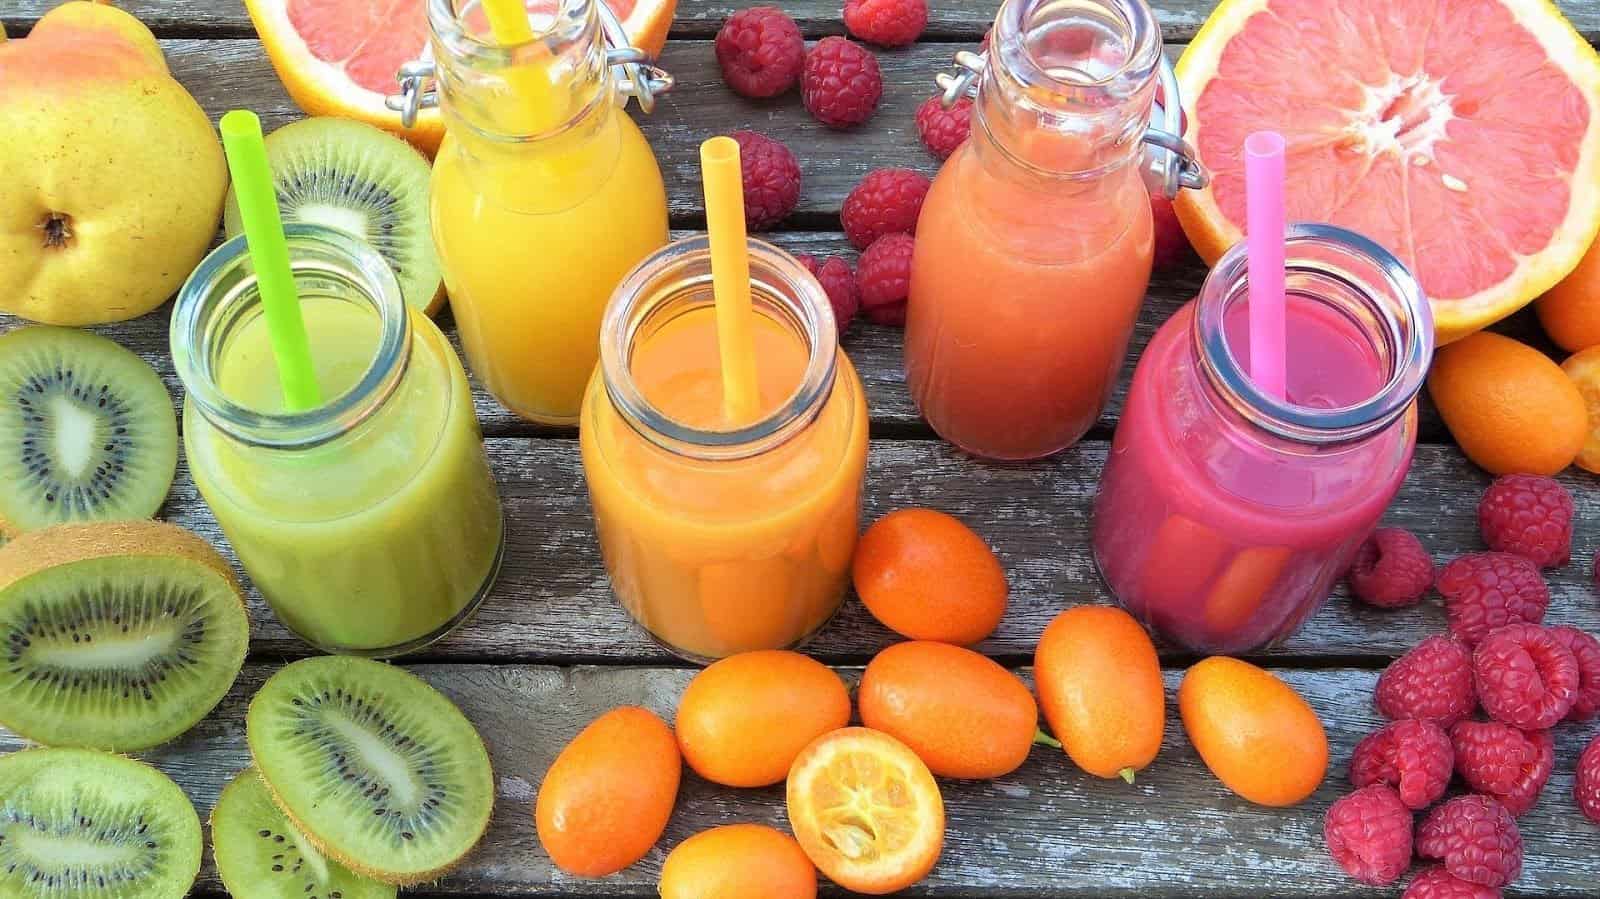
5. Buy quality ingredients (especially when shooting raw produce and meat)
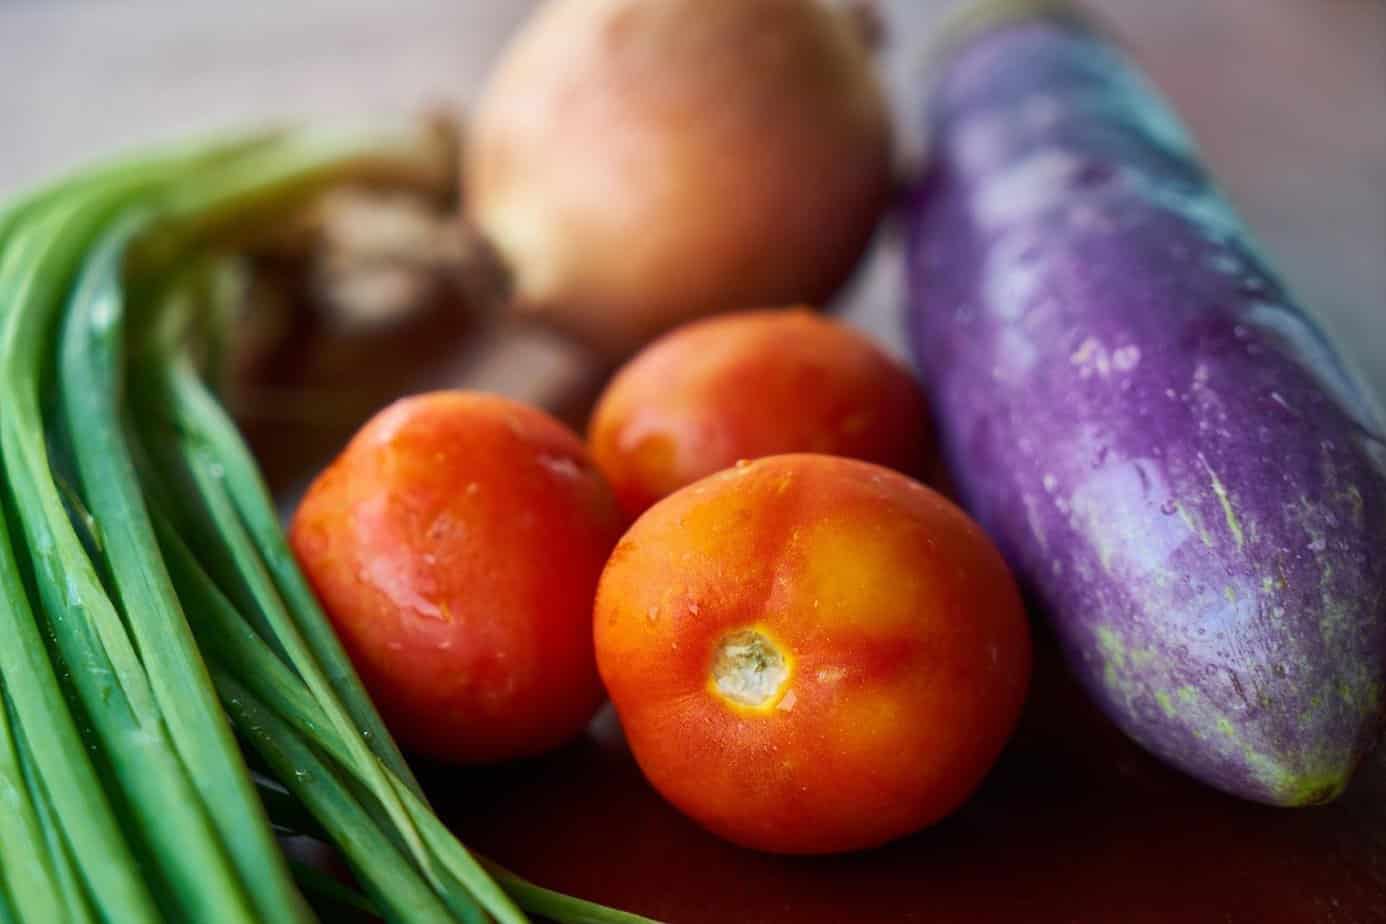
If you plan to shoot images of raw fruits and vegetables or even raw meat, using sub par ingredients will greatly affect the aesthetic quality of your output. And no matter how good your lens is, it can’t magically make your food look better—especially if the food is not in good condition to begin with. So, always make sure that the veggies, fruits, and meat you use are fresh and not darkened, wrinkled, or soiled.
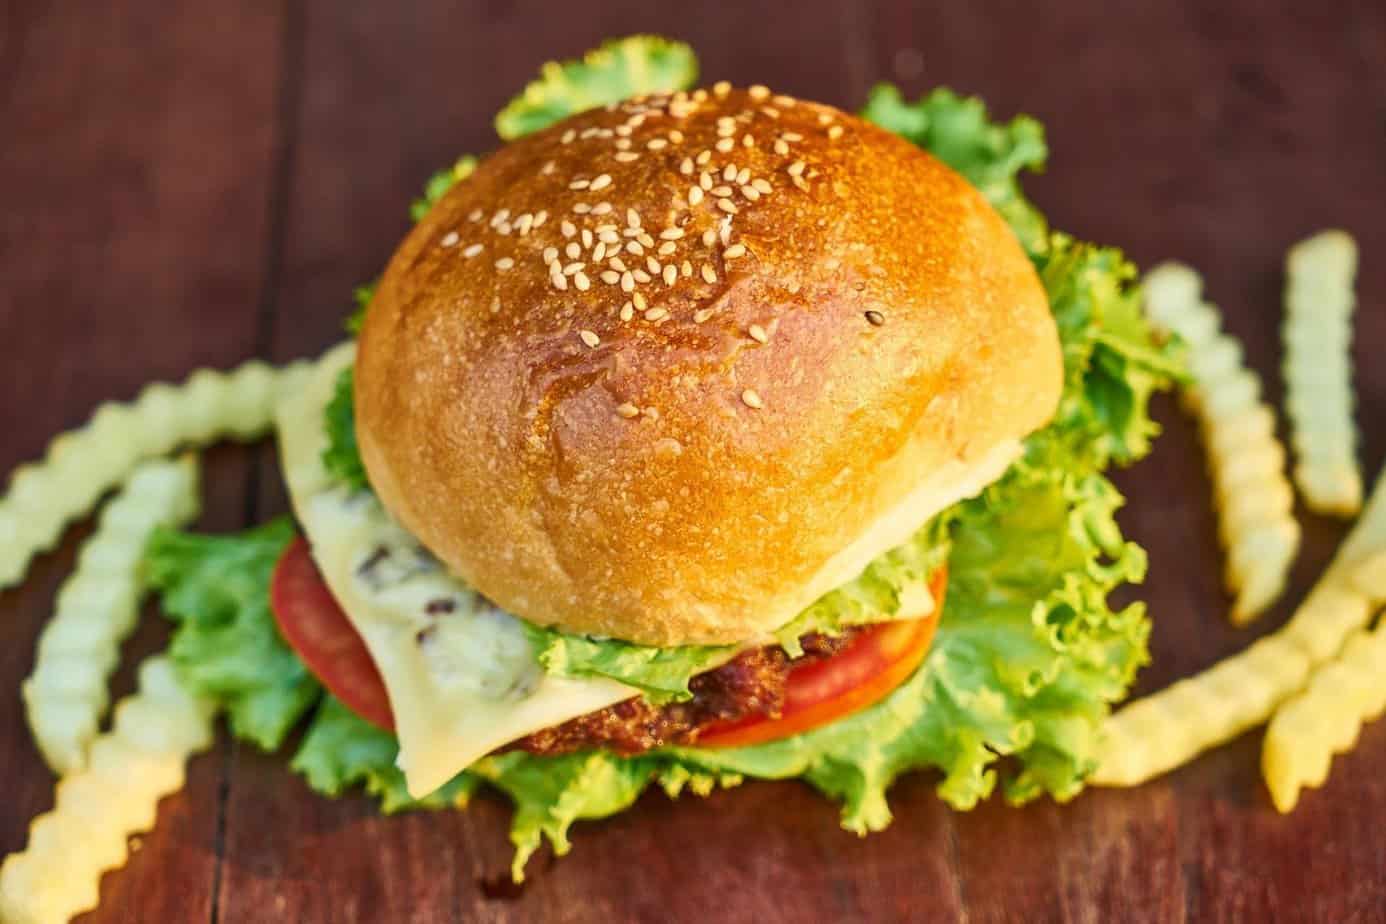
6. Keep the spread uncluttered
When designing your photo spread, avoid adding too many distracting elements that can overwhelm the viewer of the photo and take the focus away from the dish. For starters, you can just focus on taking a photo of a plate of food, then build your spread around it. This will enable you to create a more well-designed spread and experiment with more test shots.
7. Get creative with props
Props can make your photos more appealing. For food photography, one of the simplest and often most accessible things you can use is a wooden chopping board. You can also use small items (such as raw ingredients or bottles of spices) spread artistically around the dish to add “production value” to the image.
Choose props that will make your food stand out more. When in doubt, choose plain and solid colored plates over patterned ones, as they’re usually easier to photograph.
8. Take photos of the different stages of the cooking process

Another way to keep your food photos interesting is to take photos of the food throughout the different stages of the cooking process. It’s instinctive that we take photos at the end after we have already plated it, but taking photos of the food while it is being washed, cut, boiled, or fried will add a touch of realness to the set, making it appeal more to your audience.
9. Add a human element

Incorporating the human element in photography is a great way to take your photos to a whole new level. It can also help make an otherwise boring image more interesting, or allow you to connect with your audience.
In food photography, this is usually accomplished by photographing a hand posed in the act of preparing or sampling the food—stirring the food with a wooden spoon, sprinkling herbs on the dish, and more.
10. Post-process
Basic photo editing can help you make your food photos even more attractive, so make sure to not skip this step! Even if the raw image doesn’t look particularly good, a simple crop can do wonders, as well as a few tweaks on contrast, saturation, and sharpness.

And lastly, practice! The whole process may seem like a chore at first, but once you get the hang of it, you’ll find that it’s nearly as easy (and enjoyable) as preparing all of those delicious dishes!

You may also like:
Behind the Scenes of a Food Blogger

