
This sponsored post, DIY Holiday Centerpiece, is in partnership with The Network Niche Influencer Agency and The Home Depot. All opinions are my own.#DIHWorkshop
I have a thing for holiday tablescapes. Before I begin decorating the tree and decking the halls, my thoughts turn to the centerpiece for my dining room table and I’ve got a great DIY Holiday Centerpiece to share with you today. You’re gonna love it.
Christmas morning begins with a leisurely cup of mocha punch and cinnamon rolls. It’s a family tradition. Now that my husband and I are empty-nesters (for a few weeks now), some of the grown kids will arrive in time to enjoy breakfast with us.
The grandkids and their parents will arrive just in time for lunch since they spend their morning opening gifts from Santa. They know that we open gifts after lunch, so they are ready to get the party started.
By the time Christmas Day rolls around, we’ve grown tired of all the traditional holiday fare. Years ago, we started a new tradition. My husband grills ribeye steaks and I make stuffed potatoes and a big salad. I add bread, a dessert (or two) and lunch is done.
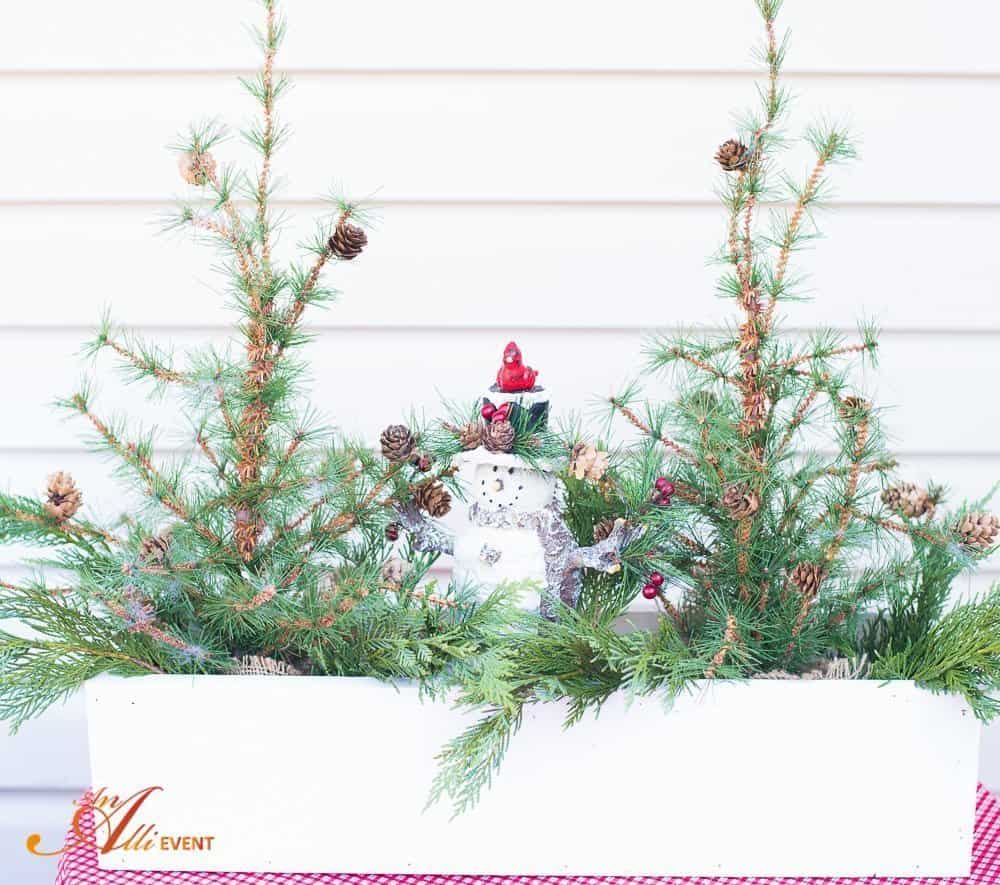
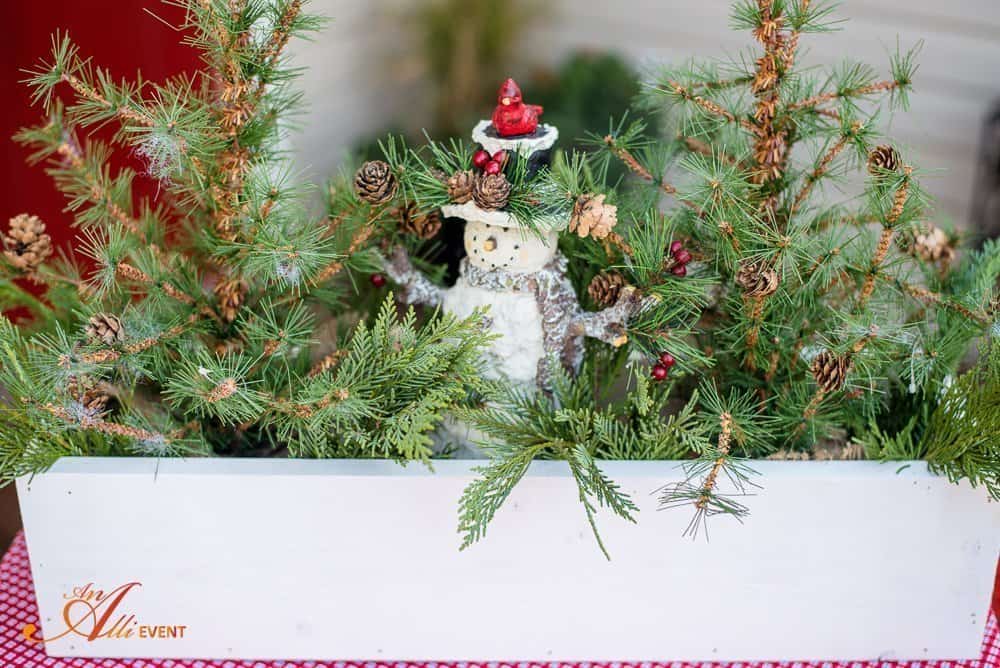
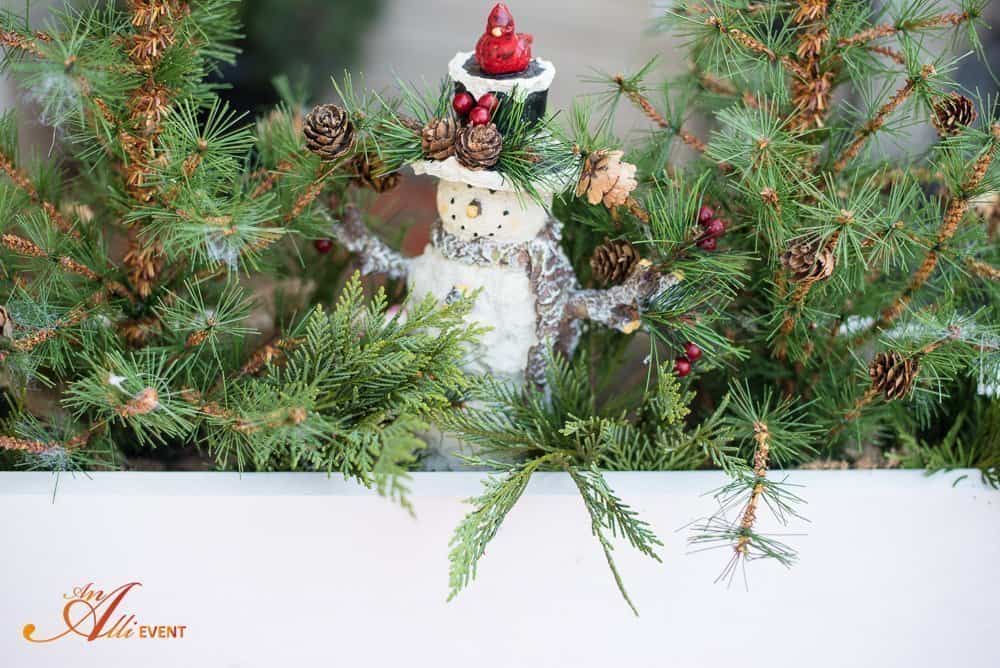
My holiday table is simple, yet festive and my DIY Holiday Centerpiece is the perfect way to showcase fresh greenery, trees and my favorite snowman.
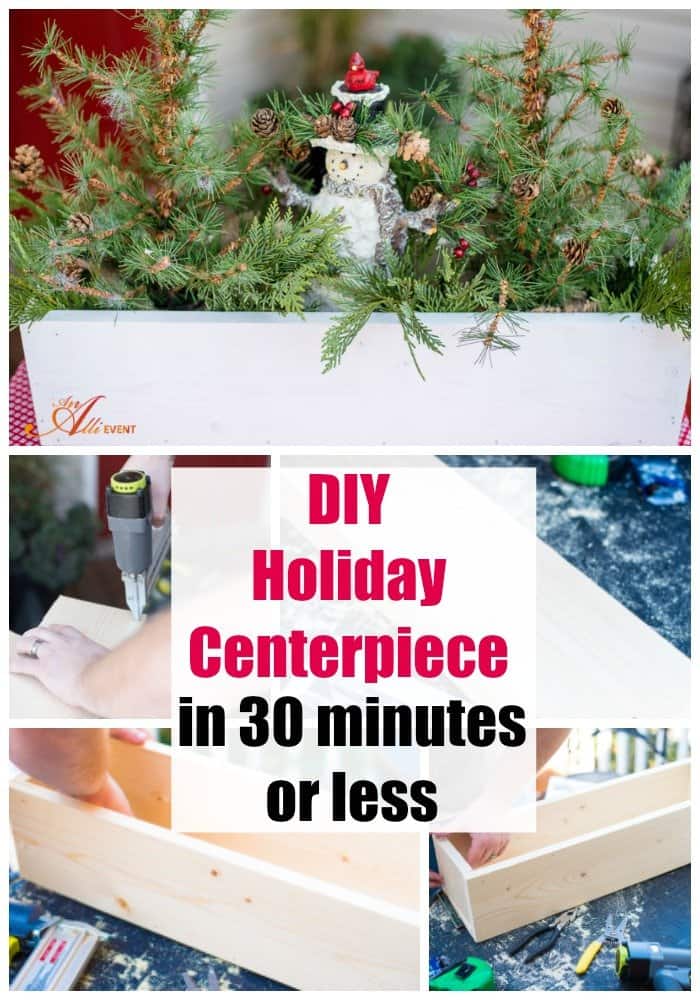
How to Make a DIY Holiday Centerpiece in Under 30 Minutes
I always head to my local Home Depot when it’s time to get my DIY on. For this project, you’ll need:
- 1 – 1″ x 6″ x 8″ common board
- 1 box 18 gauge x 2″ brad nails
- Paint or stain (optional)
- Holiday greenery, candles and ornaments
You’ll also need:
- Circular Saw
- Brad Nailer
- Measuring Tape
- Pencil
- Safety Goggles
- Sanding Block
On the common board, measure and mark three 24″ segments and two 4-3/4″ ends. Using a circular saw, make your cuts. Smooth any rough ends with sandpaper.

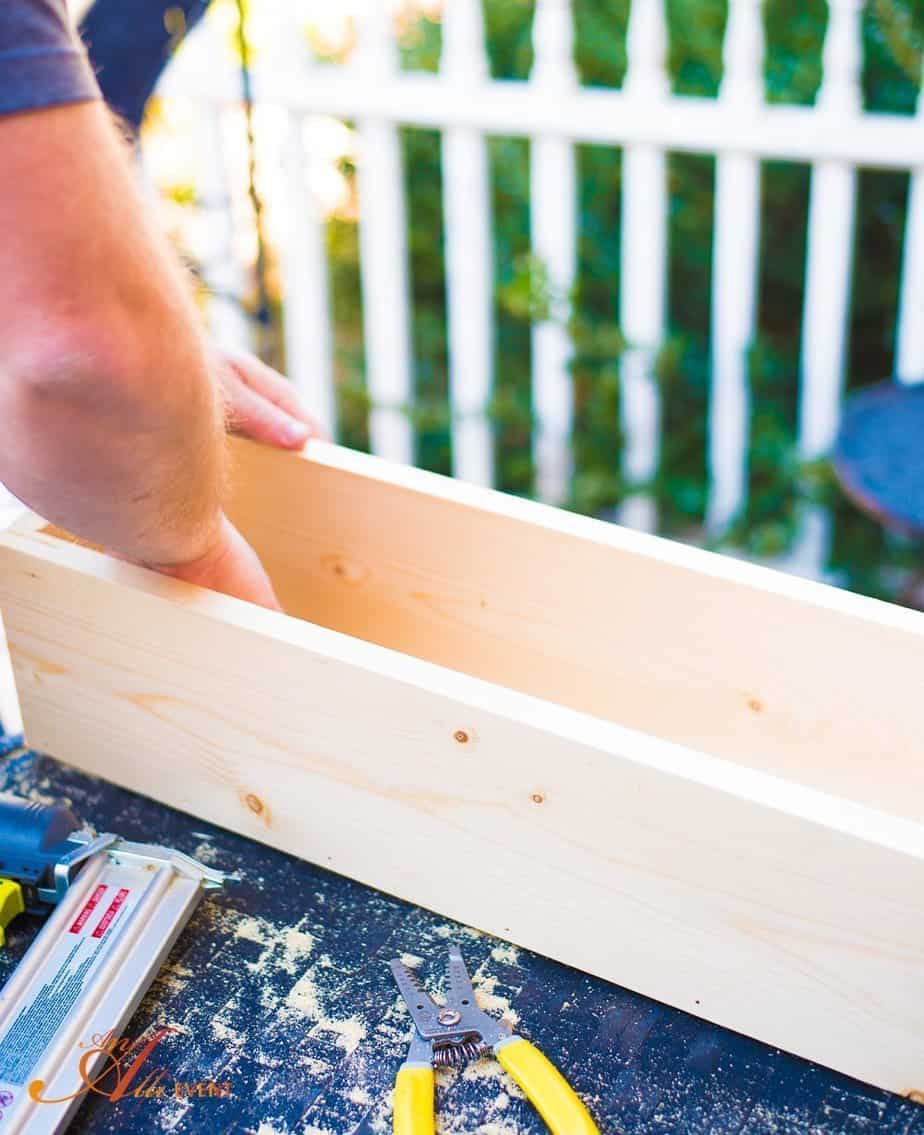
Stand one 24″ wall segment perpendicular and flush along the long edge of another 24″ base segment. Using an 18-gauge brad nailer and 2″ brad nails, nail through the outside of the wall segment into the base segment with several nails along the length of the wall segment. Repeat on the other side.
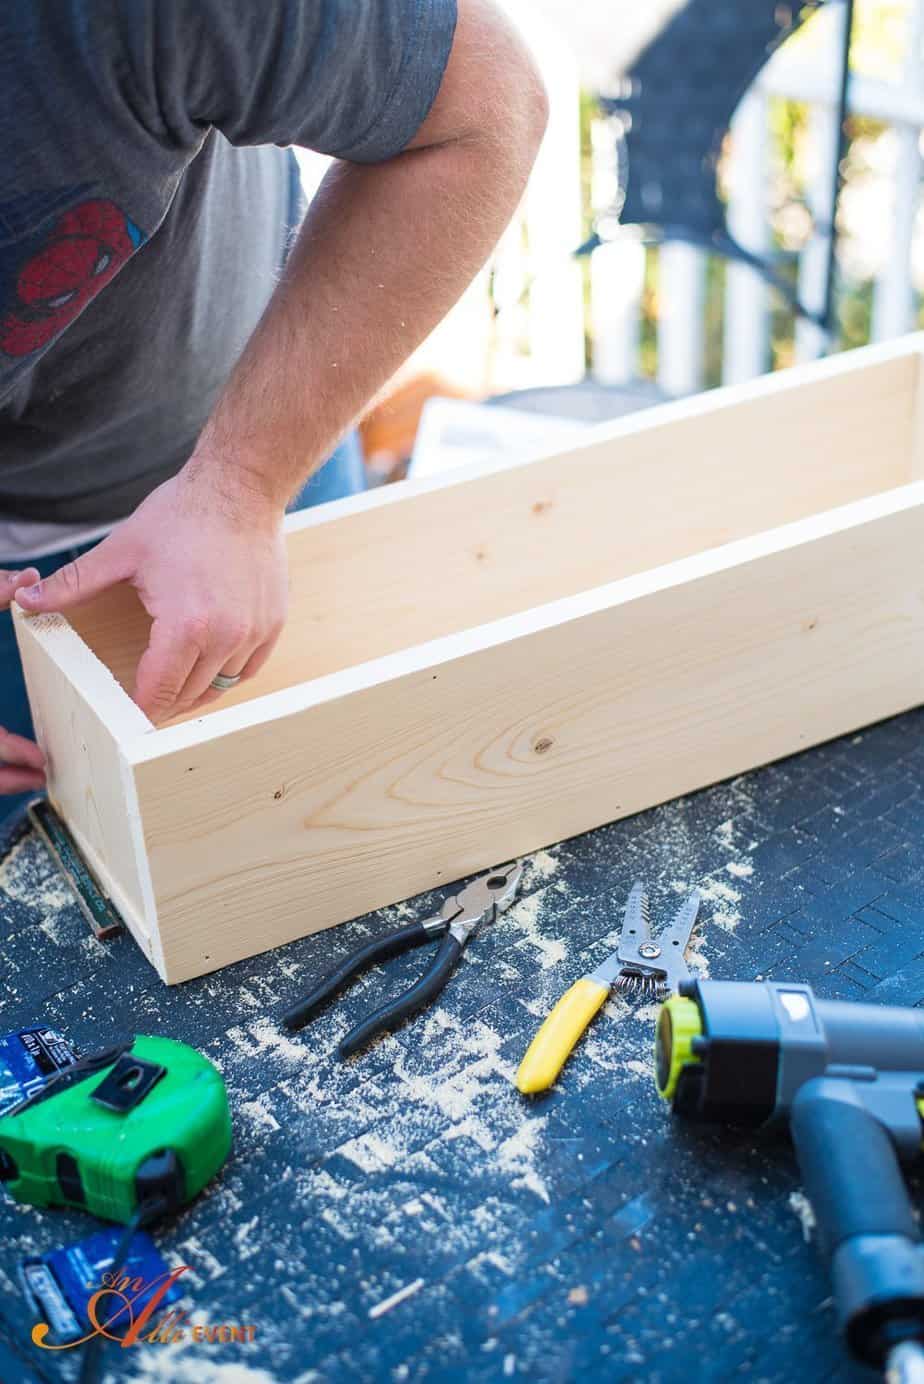
Place one of the 4-3/4″ end segments between the two walls and on top of the base. Using the 2″ nails, nail through the wall segments into the end segments on both sides of each end. Turn the box over and nail through the base into the wall and end segments to secure.
We’re done! Wasn’t that easy?
You can stain or paint your box if you’d like.
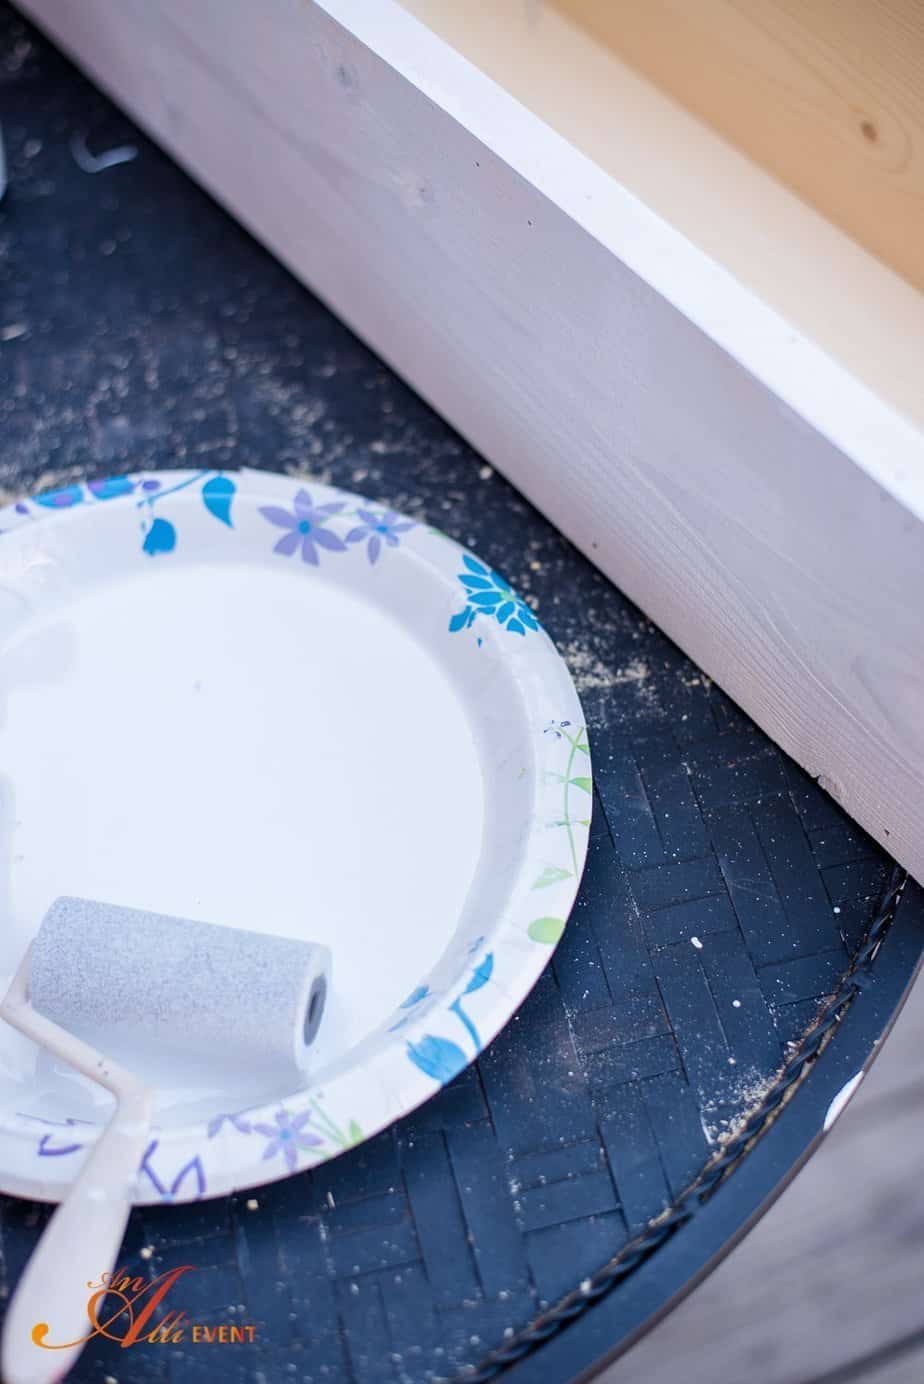
I decided to use white paint that I thinned out with a little water for the finish on my box. I want my centerpiece to have a rustic vibe. Also, I skipped the candles and added a snowman and a couple of trees. There are so many fun options to complete the box.
For more detailed instructions, download the pdf: DIY-holiday-centerpiece
Be sure and check out all the fun workshops at your local Home Depot.
The Home Depot Workshops are designed to provide a mix of associate-led demonstrations and some hands-on learning. Materials can be purchased to make your own project. For more information, contact your local Home Depot store.


21 comments
Aww how cute is that – I love how it looks and that you can make it yourself! Fantastic.
tablescapes—that’s a new one for me! never even heard the term before, but so love it. You ae very creative and for folks like me -having a DIY project mapped out step by step and in under 30 minutes makes it feel like it is possible to accomplish. I may actually give this a try!
Yes, it looked so easy! I have taken the kiddos the kids workshops at Home Depot but the adult ones are always at times in the evening when my hubby is still at work. The centerpiece looks great with the trees and snowmen. I love that you can pretty much put any kind of decor in it.
Oh I just love this! I am going to do this for christmas this year! I love how easy you made it look too!
Absolutely love this! Anything Christmas is always fun, but, love the DIY projects. Makes things so much more sentimental 🙂
SO cute! I love quick and easy projects that really add to the decor. Your snowman is adorable. There is nothing better than the scent of fresh pine in the house at Christmas. 🙂
~:Lorelai
Life With Lorelai
I love this DIY project. You can really save a ton by making your own holiday decor!
Oh we begin Christmas morning with homemade cinnamon rolls too! I’m not great at centerpieces, but this is something I could pull off
That is adorable! I love to have cute centerpieces for my holiday tables. I want to make one of these because it looks simple enough I could do it myself.
That’s a beautiful DIY! I love Home Depot, actually have a plan to visit the store today!
Awwwww…your mantle looks great! I wish I had a mantle to decorate for Christmas!
We still have not started decorating for Christmas and this is a great idea for a centerpiece. I really like the way this looks.
That snowman is so adorable. This looks pretty easy to do. I need to learn to be more crafty.
Aww.. this is so cute and I totally love the idea. It really looks so nice. I super like that snowman at the middle of it, haha!
Omg how cute is this?!?! Absolutely love it!!!! So happy it’s finally time to start all those holiday projects
This DIY holiday centerpiece is a great idea and it looks gorgeous. I love how easy it is to make it and it would be fun to do with my sisters too for a girls night in perhaps. Thanks for sharing the instructions and the craft.
This is so creative! I totally love this idea! I can’t wait to get started on Holiday crafts!
Aww this is sweet looking and it’s a dyi. Boy of love that. I love your non traditional tradition. Years ago, we also decided we had enough holiday trimmings Our family orders Chinese and we all stay on our Jammie’s. it’s so great!
That centerpiece is so cute. I really like it. You are so crafty.
This is so cute! Love that it only took 30 minutes!
What a great centerpiece. I love rustic DIY decorations. Cannot believe it only took 30 minutes.