
We are halfway through the 12 Days of Christmas series and today is all about DIY Ornaments. I’ve been wanting to make DIY marbled ornaments for a while so I finally got around to it. I’m thrilled with the way these ornaments turned out. Plus, this is one of the easiest DIY crafts I’ve ever done. You only need a few items and you can marbleize the ornaments in whatever color you desire.
Welcome to Day 6 of the Fourth Annual 12 Days of Christmas Series!

We have teamed up with 50 plus bloggers to bring you oodles of DIY Ideas and Recipes to make your holiday season merrier. There are 12 different posts in the series and we have spread them out over a four week period with three posts per week. Now is the time to subscribe!
GO HERE for the complete list of Dates and Topics plus a collection of most popular holiday ideas including ornaments, games, recipes and more from all 50 plus talented bloggers!
It’s Day 6 and we are sharing DIY Ornament Ideas!
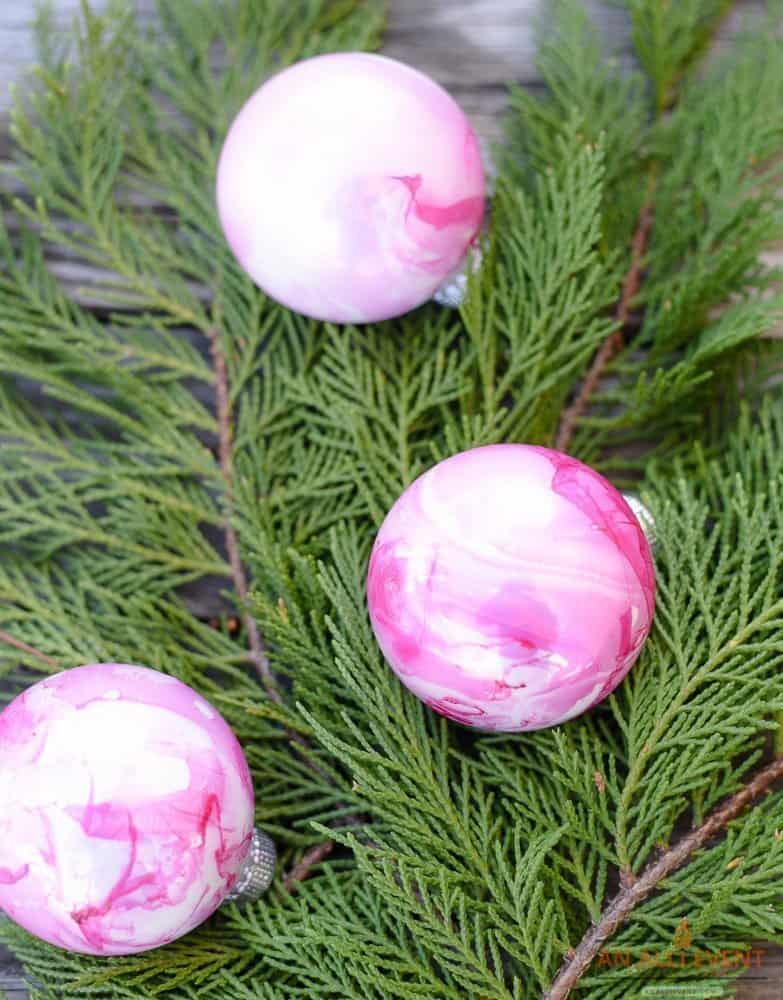
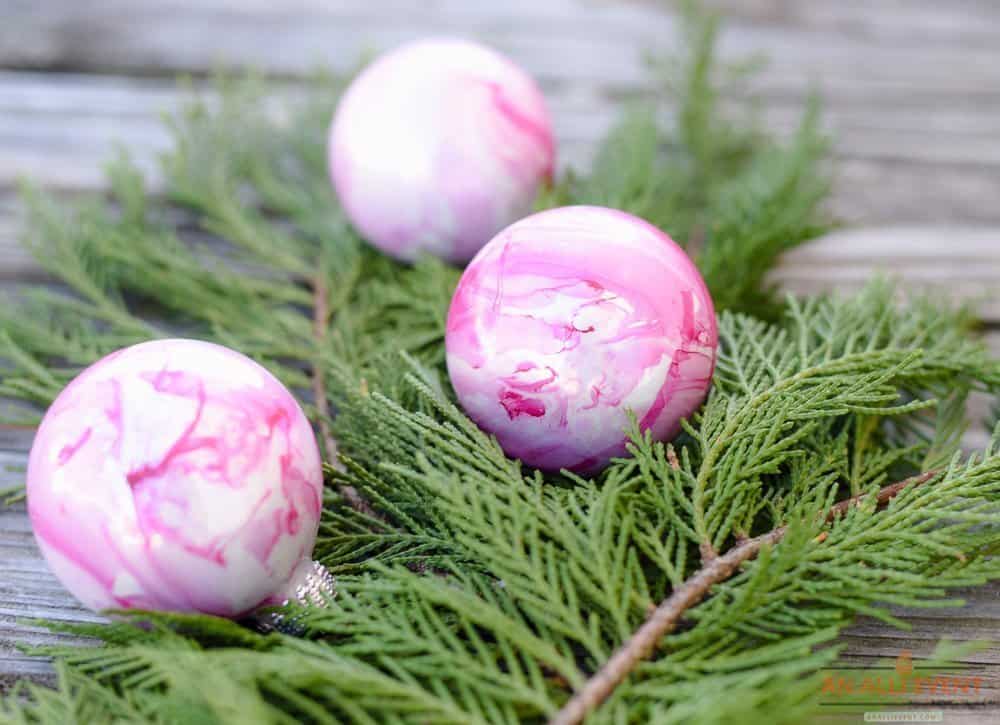
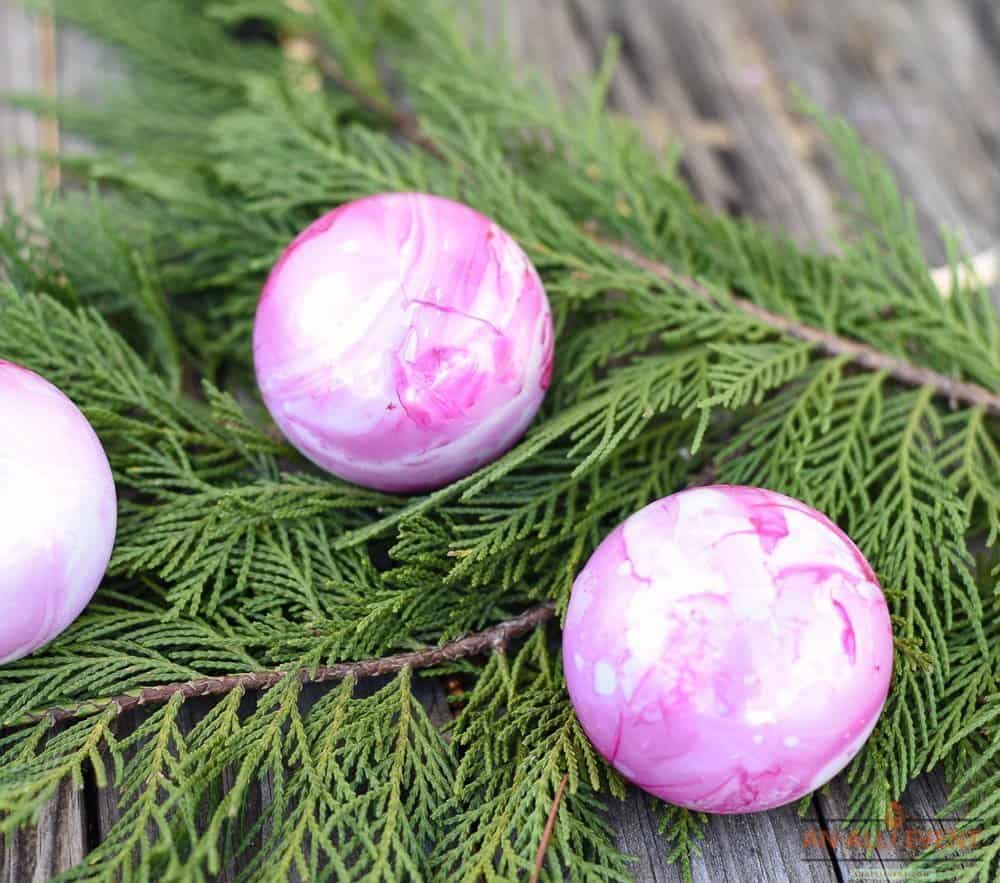
DIY Marbled Ornaments
For this project, you’ll need:
- White Glass Ornaments
- Nail Polish of Your Choice (new polish works best)
- Disposable Plastic Container
- Stir Stick (I used a long wooden skewer)
- Water (room temperature)
- Nail Polish Remover (in case you get some on your hands)
- Wax Paper or Freezer Paper
Pour nail polish into the room temperature water. A little goes a long way so you only need a few drops. You can always add more polish as you go along.
Helpful Hint: It’s really important that the water be room temperature. If the water is too warm, the polish will clump together. If it’s too cold, the polish will sink.
Stir lightly to make a marbled look to your water.
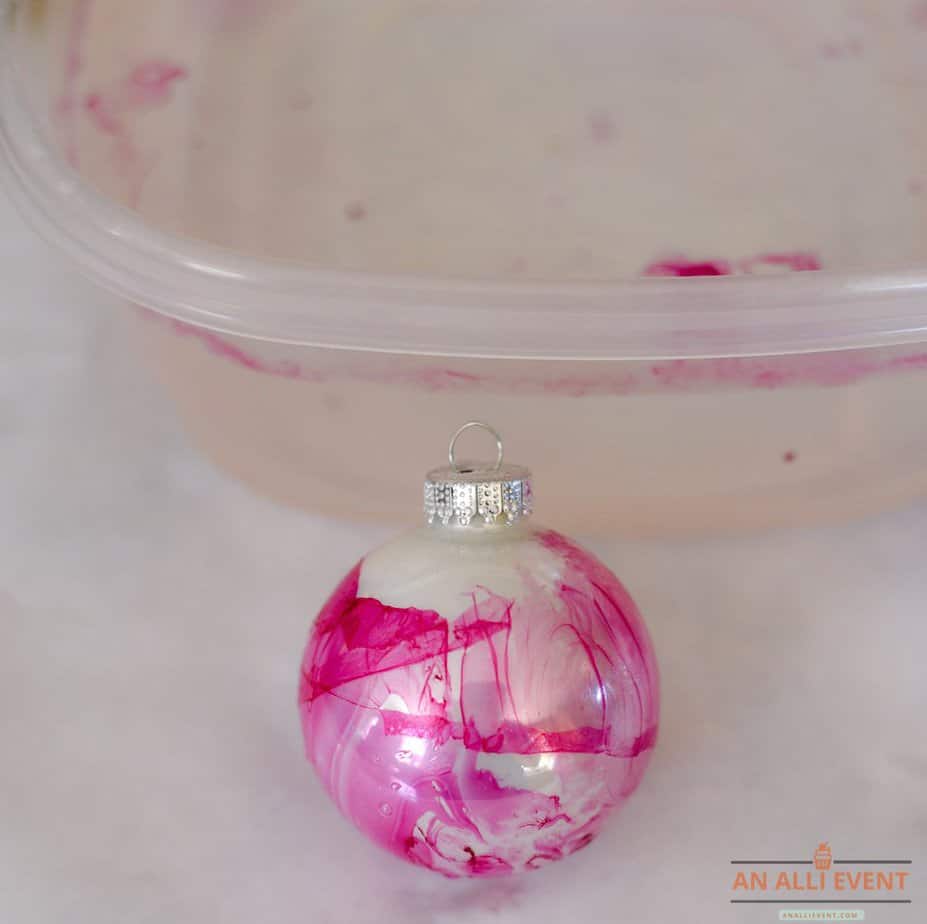
Dip the ornaments under the water and swirl. You can wear gloves for this project but I just held the ornaments by the topper.
Dry completely on waxed paper. I used freezer paper because I didn’t have waxed paper on hand. The ornaments dry pretty quickly and the color doesn’t smear at all. Yay!
You can also reuse the plastic container for future marbling projects like Easter Eggs or pumpkins or whatever.
These ornaments would be so pretty in whatever color you desire. For this project, I used an OPI nail polish called Raisin The Bar. I actually thought it would be darker, but it surprised me. I do love the color and these ornaments would be so pretty on a white tree or a wreath. A dark blue would be pretty as well.
What color would you use on your DIY Marbled Ornaments?
Scroll down for many more DIY Ornament Ideas for your holiday season!