This sponsored post, DIY Holiday Centerpiece, is in partnership with The Network Niche Influencer Agency and The Home Depot. All opinions are my own.#DIHWorkshop
I have a thing for holiday tablescapes. Before I begin decorating the tree and decking the halls, my thoughts turn to the centerpiece for my dining room table and I’ve got a great DIY Holiday Centerpiece to share with you today. You’re gonna love it.

Christmas morning begins with a leisurely cup of mocha punch and cinnamon rolls. It’s a family tradition. Now that my husband and I are empty-nesters (for a few weeks now), some of the grown kids will arrive in time to enjoy breakfast with us.
The grandkids and their parents will arrive just in time for lunch since they spend their morning opening gifts from Santa. They know that we open gifts after lunch, so they are ready to get the party started.
By the time Christmas Day rolls around, we’ve grown tired of all the traditional holiday fare. Years ago, we started a new tradition. My husband grills ribeye steaks and I make stuffed potatoes and a big salad. I add bread, a dessert (or two) and lunch is done.
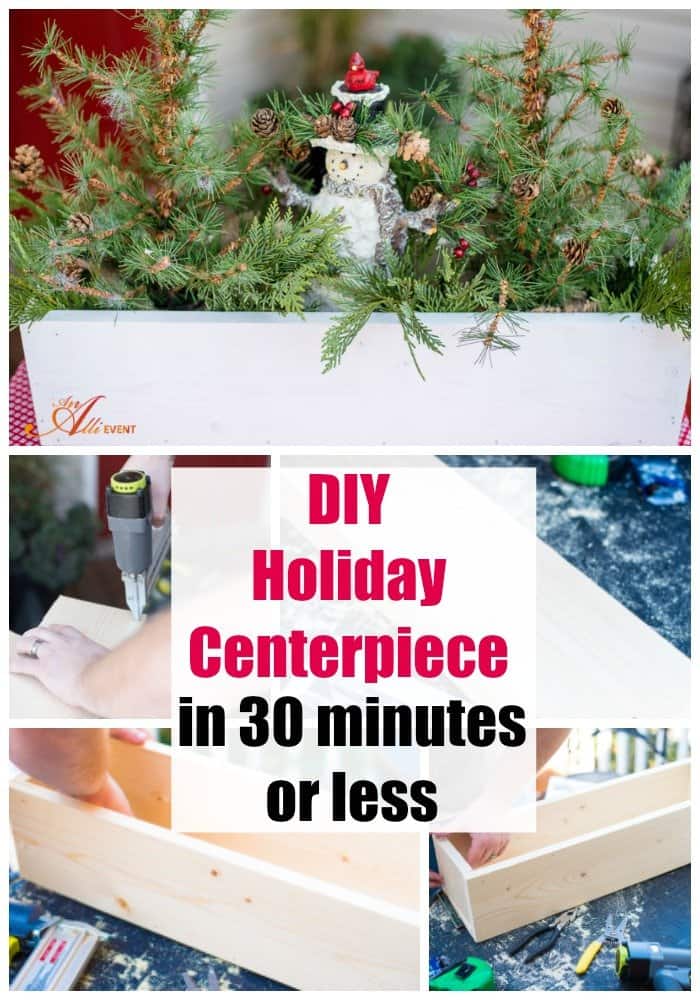
My holiday table is simple, yet festive and my DIY Holiday Centerpiece is the perfect way to showcase fresh greenery, trees and my favorite snowman.

How to Make a DIY Holiday Centerpiece in Under 30 Minutes
I always head to my local Home Depot when it’s time to get my DIY on. For this project, you’ll need:
- 1 – 1″ x 6″ x 8″ common board
- 1 box 18 gauge x 2″ brad nails
- Paint or stain (optional)
- Holiday greenery, candles and ornaments
You’ll also need:
- Circular Saw
- Brad Nailer
- Measuring Tape
- Pencil
- Safety Goggles
- Sanding Block
On the common board, measure and mark three 24″ segments and two 4-3/4″ ends. Using a circular saw, make your cuts. Smooth any rough ends with sandpaper.

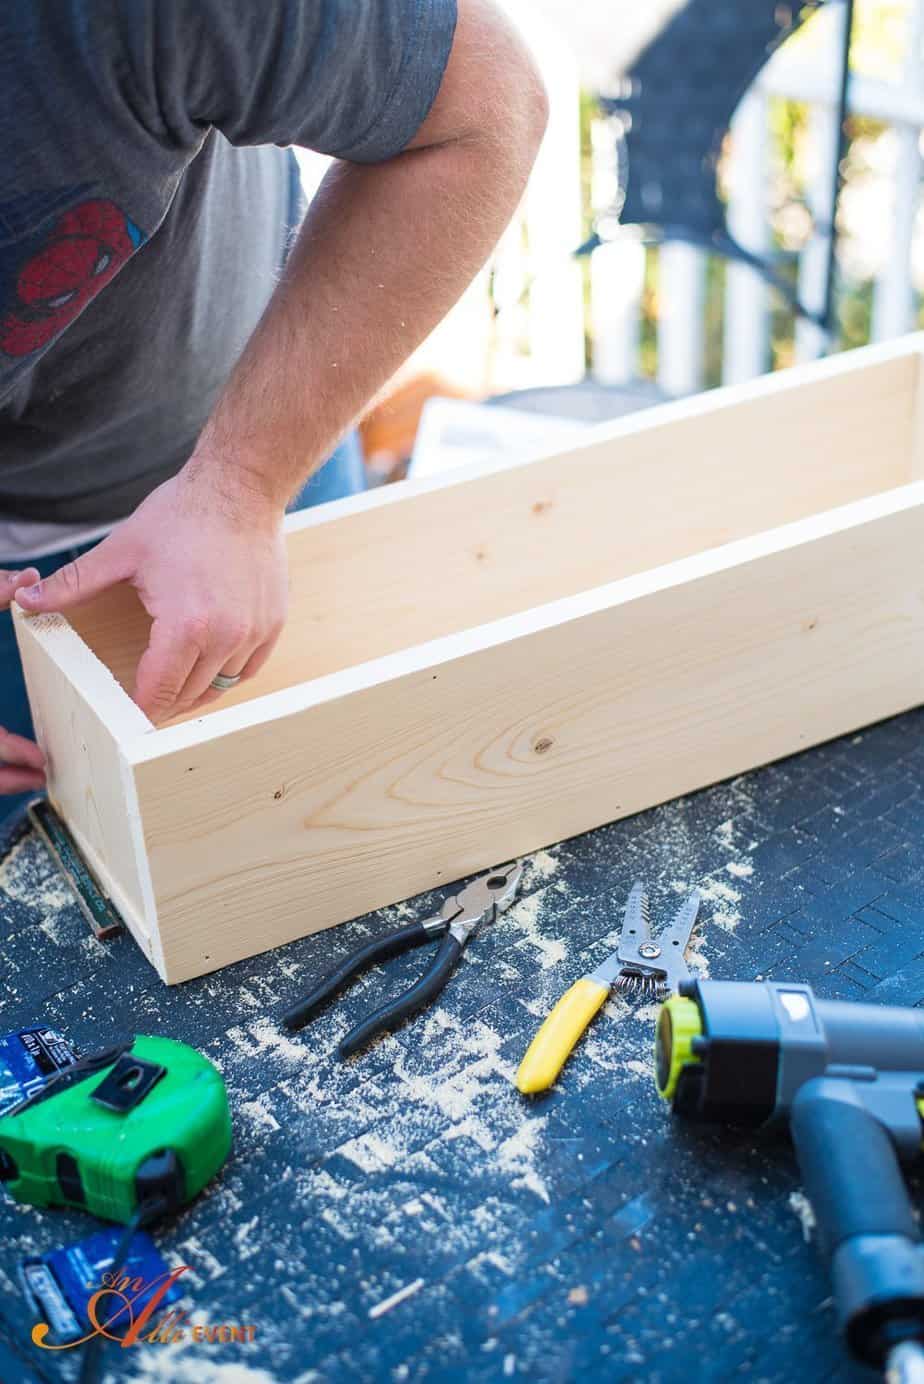
Stand one 24″ wall segment perpendicular and flush along the long edge of another 24″ base segment. Using an 18-gauge brad nailer and 2″ brad nails, nail through the outside of the wall segment into the base segment with several nails along the length of the wall segment. Repeat on the other side.
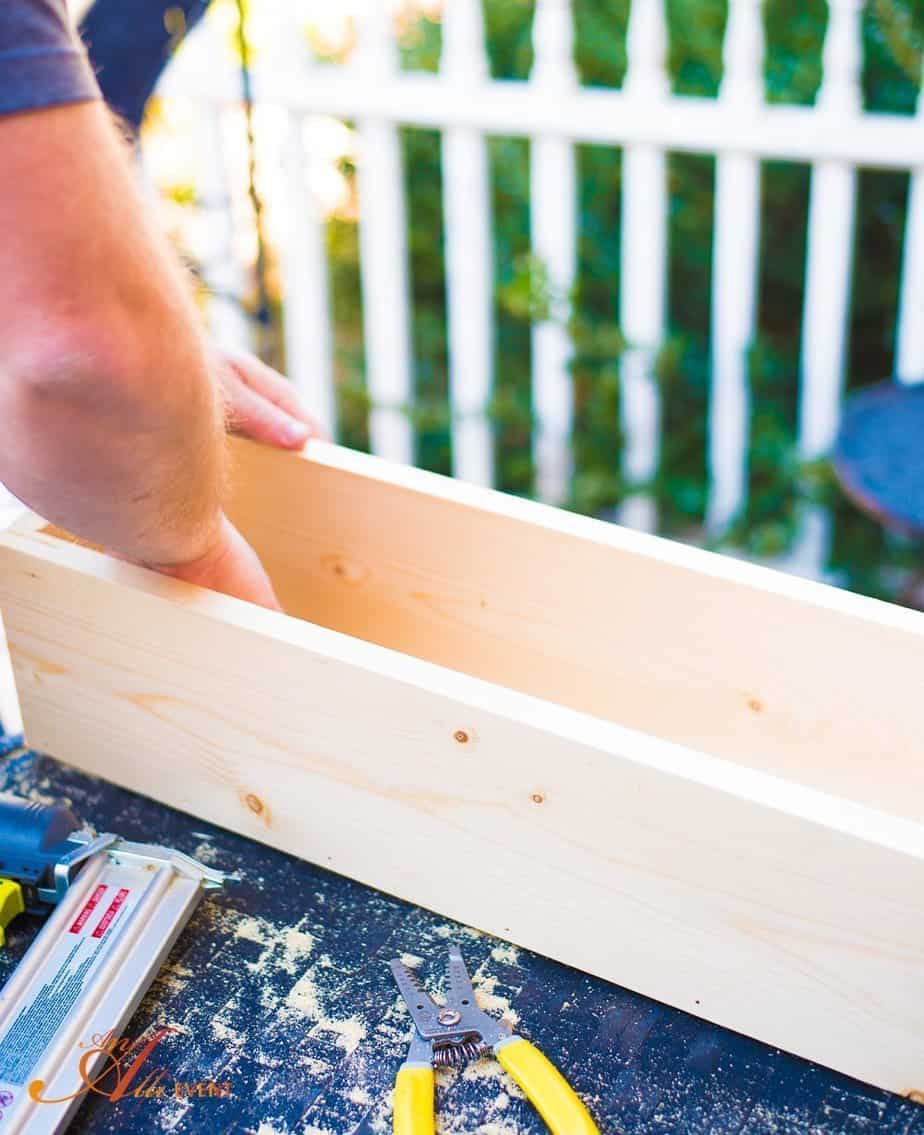
Place one of the 4-3/4″ end segments between the two walls and on top of the base. Using the 2″ nails, nail through the wall segments into the end segments on both sides of each end. Turn the box over and nail through the base into the wall and end segments to secure.
We’re done! Wasn’t that easy?
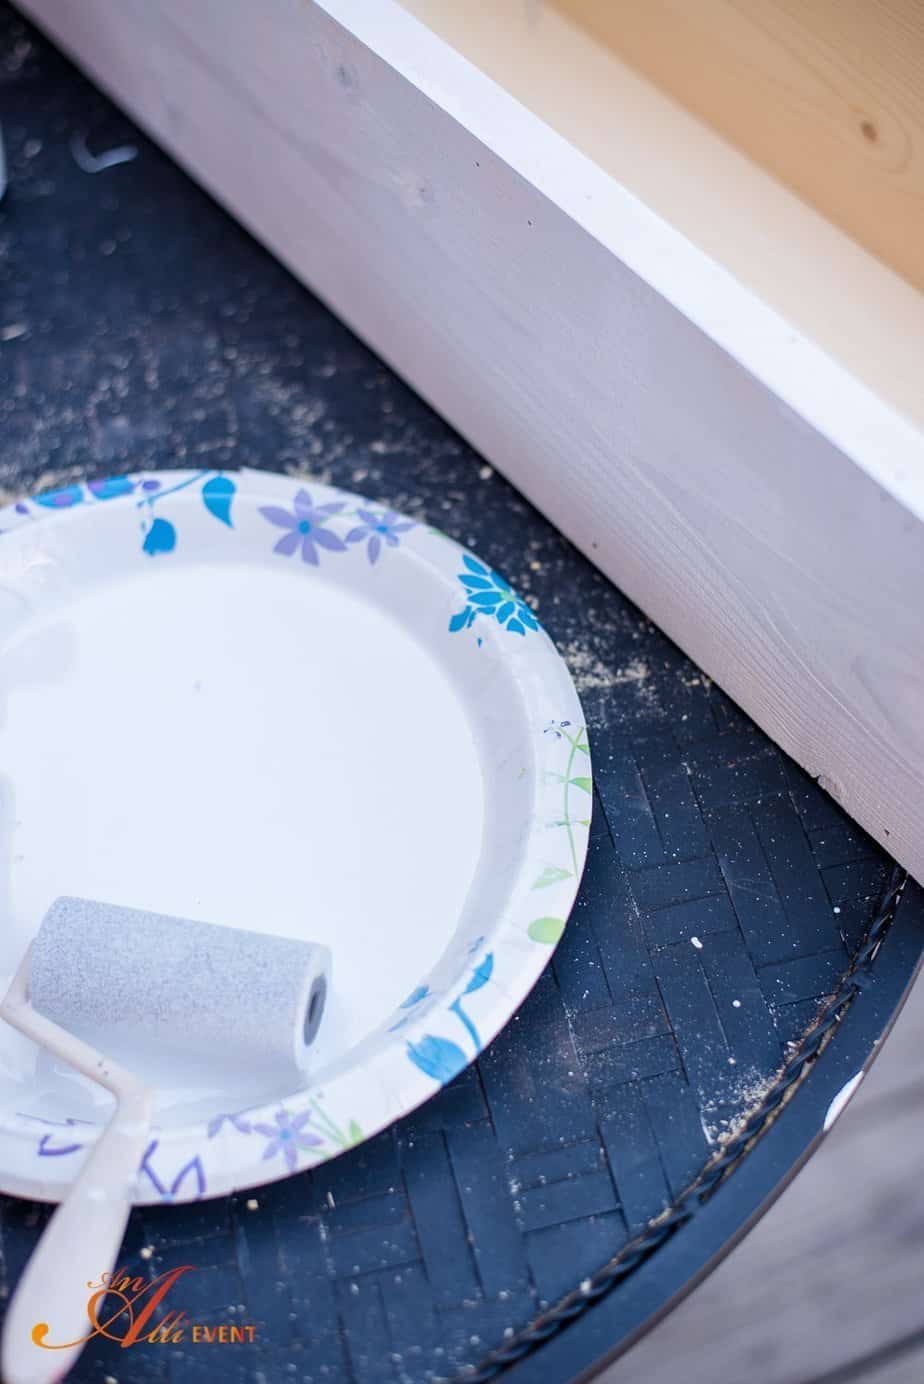
You can stain or paint your box if you’d like.
I decided to use white paint that I thinned out with a little water for the finish on my box. I want my centerpiece to have a rustic vibe. Also, I skipped the candles and added a snowman and a couple of trees. There are so many fun options to complete the box.
For more detailed instructions, download the pdf: DIY-holiday-centerpiece

Be sure and check out all the fun workshops at your local Home Depot.
The Home Depot Workshops are designed to provide a mix of associate-led demonstrations and some hands-on learning. Materials can be purchased to make your own project. For more information, contact your local Home Depot store.