I know that fall burlap wreaths have been all the rage for several years. I’m just now jumping on the bandwagon. I never really wanted one until I saw a few on Pinterest.
After seeing all the fall burlap wreaths, I decided to make a trip to Hobby Lobby to stock up on everything I need.
I’m included a few links at the end of this post if you’d rather shop online.
Watching TV Is The Perfect Time To Make Your Fall Wreath
I’m a multi-tasker. So, on a Friday night, while the hubs and I watched something on TV that he had recorded a few days ago, I worked on my wreath. You know I can’t do one thing at a time.
I did look at several tutorials, but just couldn’t get the hang of any of them, so I just did my own thing. That’s how I roll! 🙂
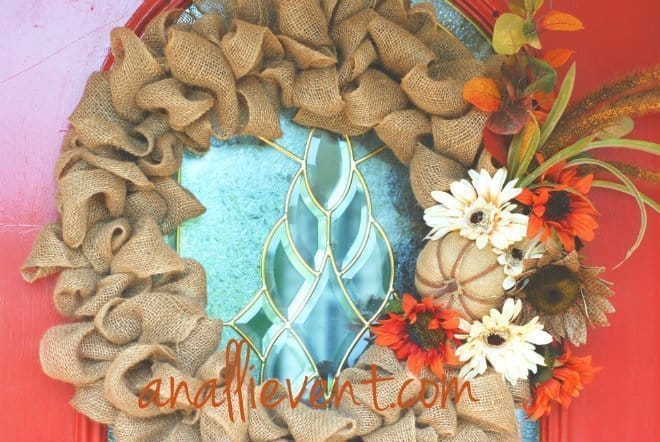
Also, in the last picture, the one of my fall wreath hanging on my front door, it looks like the burlap is darker at the top of the wreath than at the bottom (or am I the only one noticing this?).
It’s just the way the sun is shining on the door and I didn’t want to wait to take another pic. It’s all good!
Supplies Needed To Make A Fall Burlap Wreath
- wire wreath frame
- roll of burlap ribbon (about 3-5 inches wide)
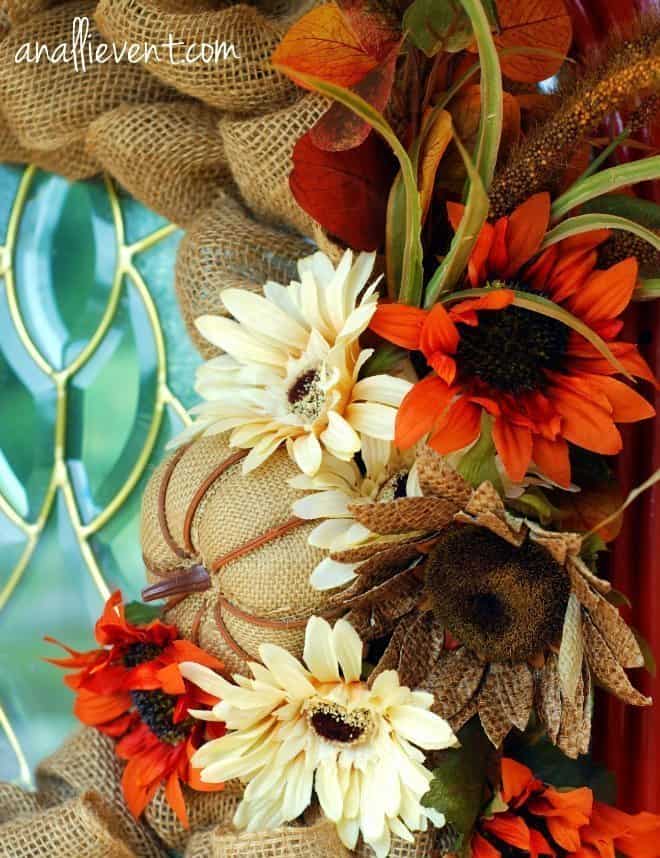
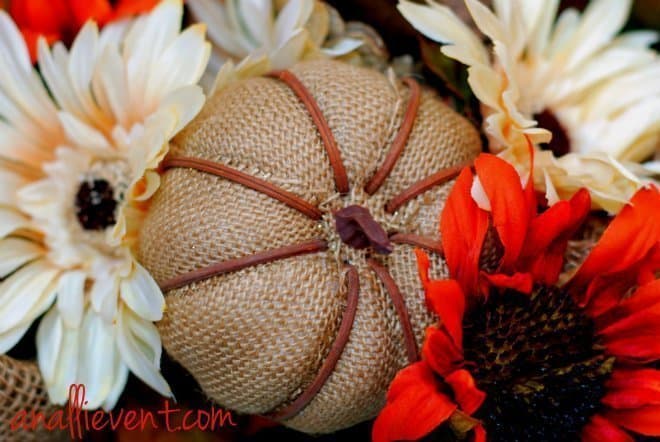
- faux fall flowers, pumpkin, and grasses
Tips For Making a Fall Burlap Wreath
First Things First: I don’t like to have to tie things on and that sort of thing, so I made my wreath without using hot glue, florist wire, or anything.
I’ve had my fall burlap wreath on my door for over a week. Nothing has dislodged.
It still looks the same as the day I made it. And, believe me, the grandkids have been in and out over the last few days so the front door has been slammed numerous times.
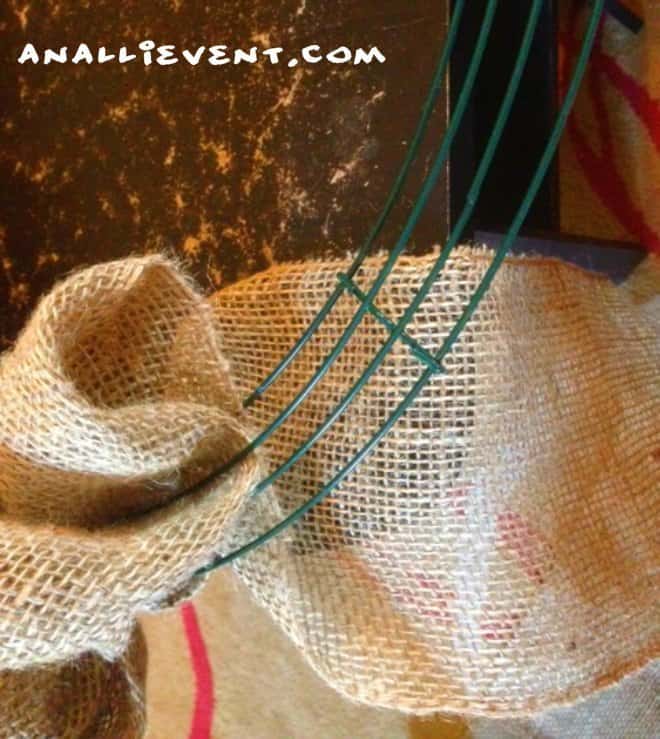
I started from the back of the wire wreath and just took turns pushing the roll of burlap up between the three wires, fluffing it, and going in between the next wire, making sure I went between each of the three wires each time.
Keep pushing the loops close together so the frame of the wreath doesn’t show.
Check to make sure you are making the same size loops. I noticed I had a tendency to get bigger and bigger with the loops, so I did have to adjust a few of them.
When you’re finishing up. leave an area covered with burlap, but with smaller loops. This is where you want to place the flowers, pumpkin, and grasses.
And, that’s it. I have a clear command hook that I leave at the top of the glass on my front door to hang wreaths. It didn’t take over 20 minutes to make this fall wreath. I should have timed it.
I did make a fall ribbon bow, but I felt like it distracted from my fall burlap wreath because of all the fluff of the burlap going on. So I didn’t attach it. Feel free to add a bow if so desired.
You May Also Like
- Fun Girls Night In
- Dining Room Chairs Refresh
- Glamping Christmas Tree Decor
- Thanksgiving Day Tablescape
Fall Burlap Wreath

This fall burlap wreath is easy to put together and it's so cute. After weaving the burlap through the wire wreath, can add the flowers, grasses, and pumpkin of your choice to personalize this wreath.
Materials
- 1 wire wreath frame
- Roll of burlap ribbon (3-5 inches wide)
- Faux fall flowers, pumpkin, and grasses
Tools
- hot glue gun (if you chose to glue the pumpkins and flowers)
Instructions
- Start from the back of the wire wreath and push the end of the roll of burlap up between the three wires, fluffing it, and going in between the next wire, making sure to go between each of the three wires, making loops, one at a time.
- Keep pushing the loops close together so the frame of the wreath doesn't show.
- As you go along, make sure you are making the same size loops. I noticed I had a tendency to get bigger and bigger with the loops, so I did have to adjust a few of them.
- When you're finishing up. leave an area covered with burlap, but with smaller loops. This is where you want to place the flowers, pumpkin, and grasses.
Recommended Products
As an Amazon Associate and member of other affiliate programs, I earn from qualifying purchases.
-
Sunflower Pick | Hobby Lobby | 1564822
-
TITA-DONG Artificial Fall Flower Picks,10.5inch 3 Pack Thanksgiving Autumn Harvest Pumpkin Maple Leaf Berry Sunflower Twig Stem for DIY Wreath Supplies Flower Arrangements
-
CraftMore Wheat Fall Pick Set of 6
-
Buffalo Plaid Fabric Artificial Pumpkins Assorted Size - 3PCS Orange and White Large Pumpkins for Fall Decor, Buffalo Check Pumpkins Perfect for Halloween Thanksgiving Decoration Fall Wedding Decor
-
Burlap Ribbon, Wide Natural, 5 Inch x 10 Yard Loose Weave Roll for Crafts and Décor (1 Roll)
-
FloraCraft Wire Wreath Form 20 Inch Green


