Red White and Blue Fudge – A vanilla fudge base with gorgeous, bright shades of blue and red swirled in. This fudge is topped off with some adorable patriotic sprinkles. Everyone will rave over this recipe.
Patriotic Fudge is a fun treat to serve on Memorial Day weekend, the 4th of July, or any summertime gathering. It’s really an easy recipe to make!

Ingredients At A Glance (Full Printable Recipe Card at the end of this post)
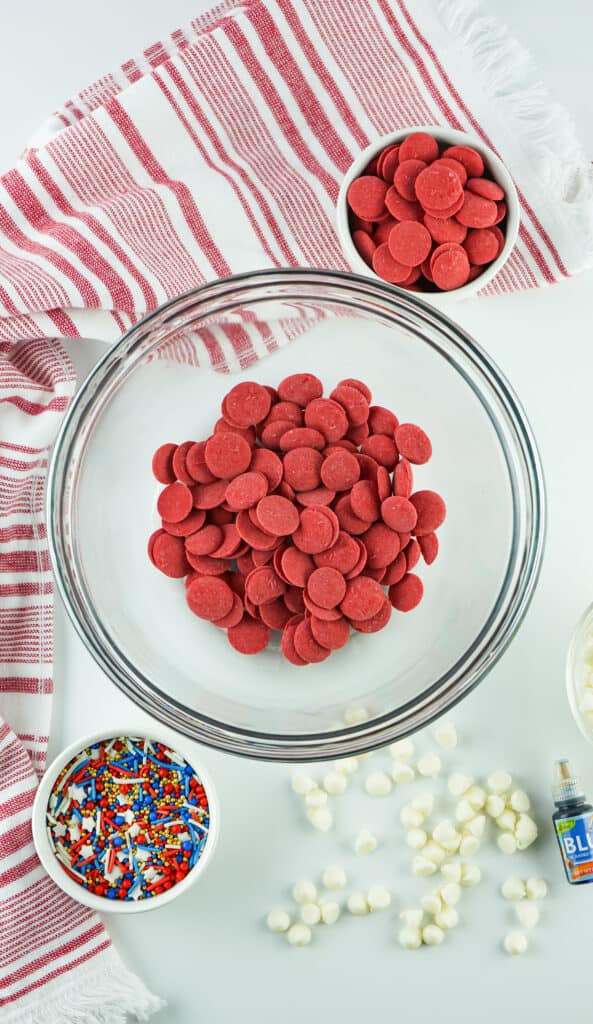
- 2 tubs of White Frosting -16 ounces each
- White Chocolate Chips
- Red Candy Melts
- Blue Oil Based Food Dye
- Patriotic Sprinkles
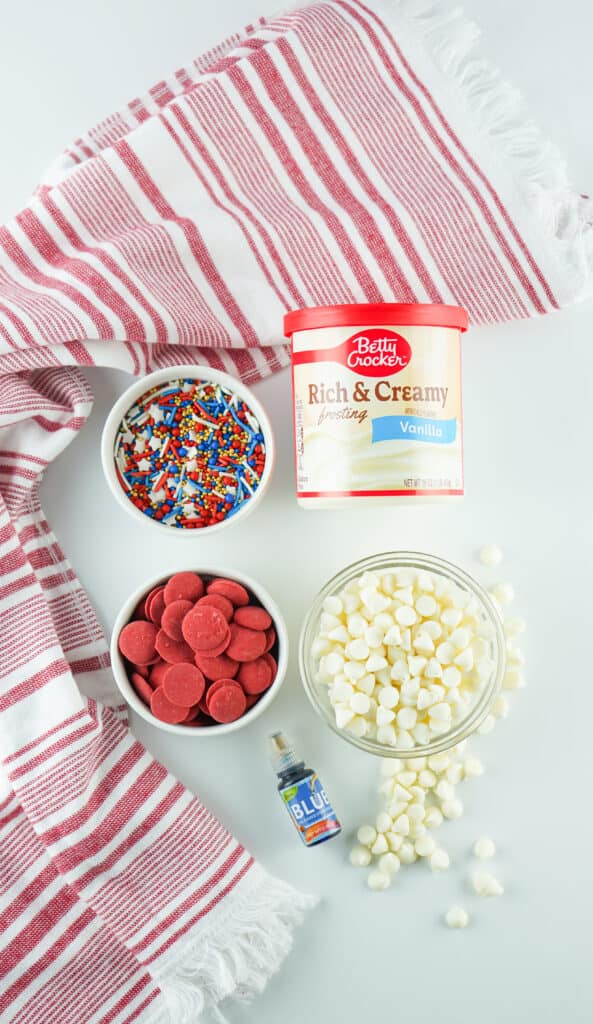
Items Needed:
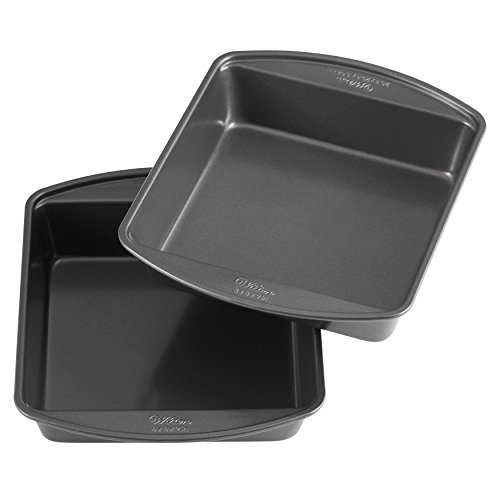
- 8×8 Pan
- Parchment Paper
Important Tips For Making Red White and Blue Fudge
- DO NOT stir or attempt to swirl the colors once they’ve been poured into the pan together. This will mix the colors and you’ll get more purple than red, white, and blue.
- Be sure to set the fudge in a flat spot or it will shift and cause the fudge to be thicker in some areas and thinner in others. It will also cause it to leave wrinkles on the top of the fudge.
- If your chocolate mixtures start to get too thick to easily pour into the pan, simply place it back in the microwave for 15 seconds. Stir and keep pouring.
- You can use other sprinkles if you prefer, but these look amazing on the fudge.
- You can use blue candy melts in place of the blue dye and 1 cup of white chocolate chips. Simply replace both of those ingredients with 1 cup of blue candy melts.
- Depending on how big or small you cut the fudge will decide how many pieces you get. I usually cut the fudge into 1-2-inch square pieces.
- The frosting amount doesn’t have to be perfect. I tend to just eyeball it. As long as it’s not terribly off, it will be just fine.
- I used the AGQ dye brand for the oil-based color for this recipe and it worked amazingly. Please note that other brands will vary in color when used.
- I’ve included a link to the oil-based color in the recipe card down below.
- This is the perfect recipe to make the night before and let harden all night.
Steps (With Photos) For Making Red, White, and Blue Fudge
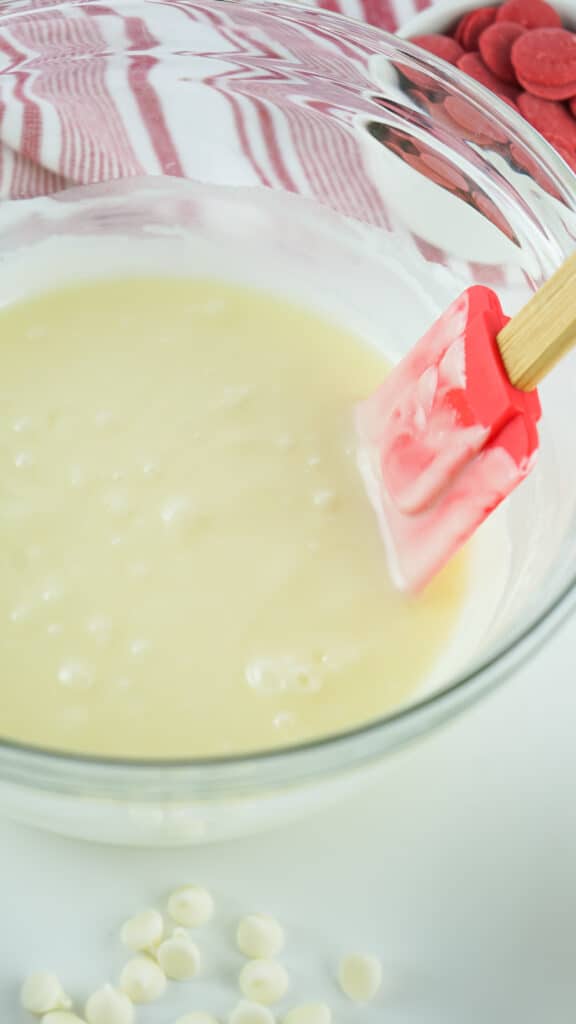
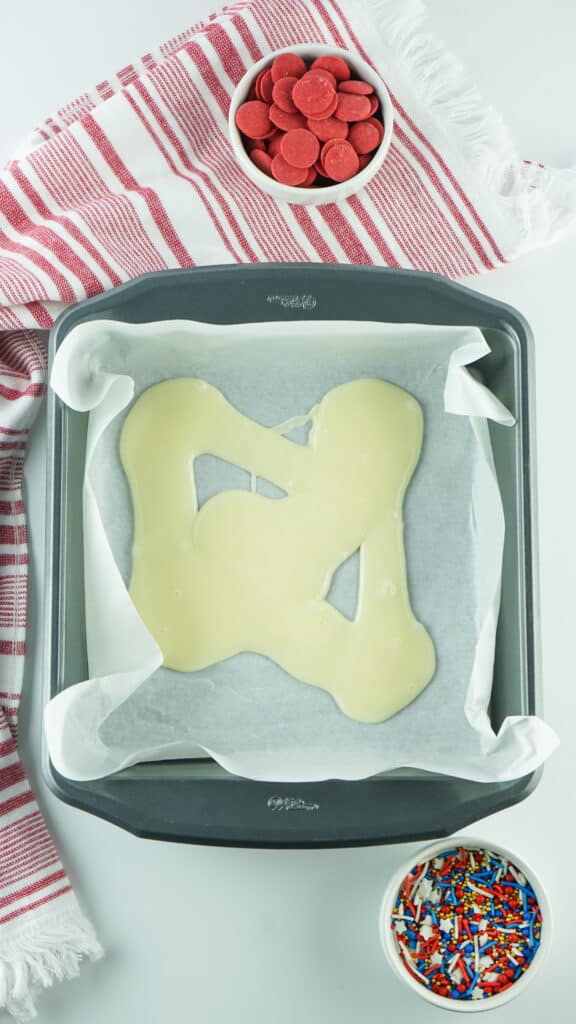
Add half of the white chocolate chips to a medium, microwave-safe bowl and microwave on high for 2-3 minutes until smooth, pausing every 30 seconds to stir the chips.
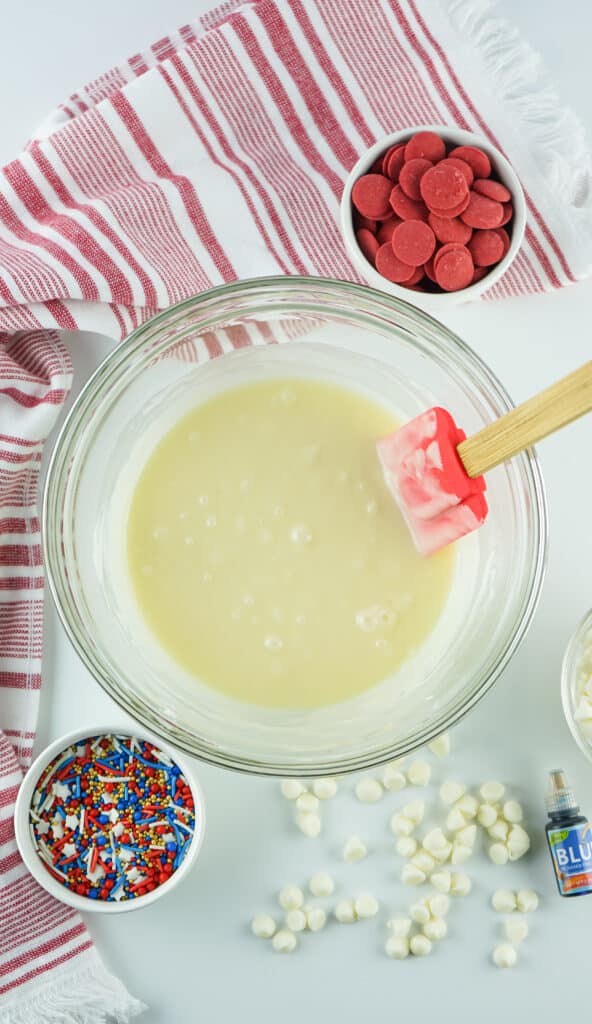
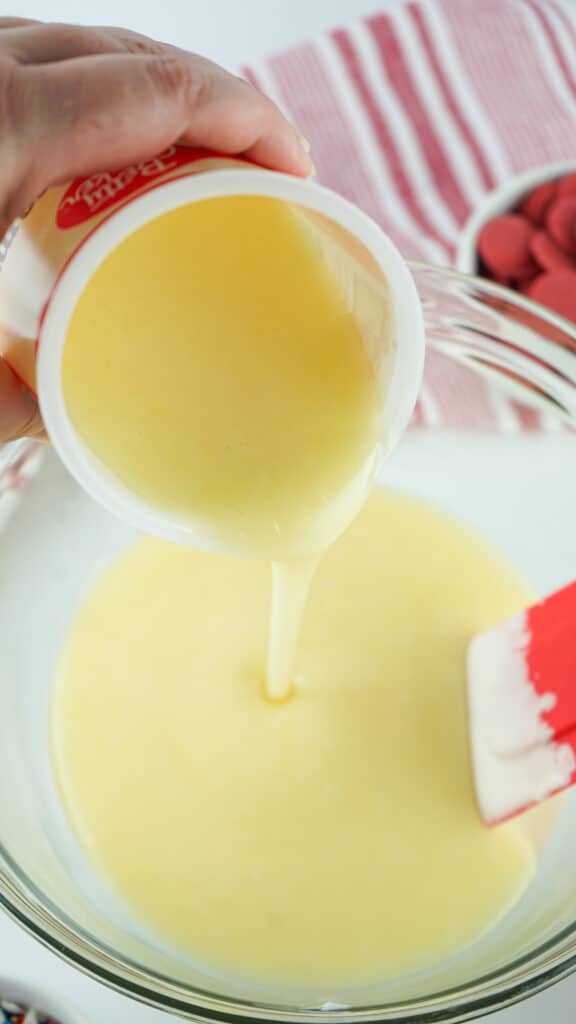
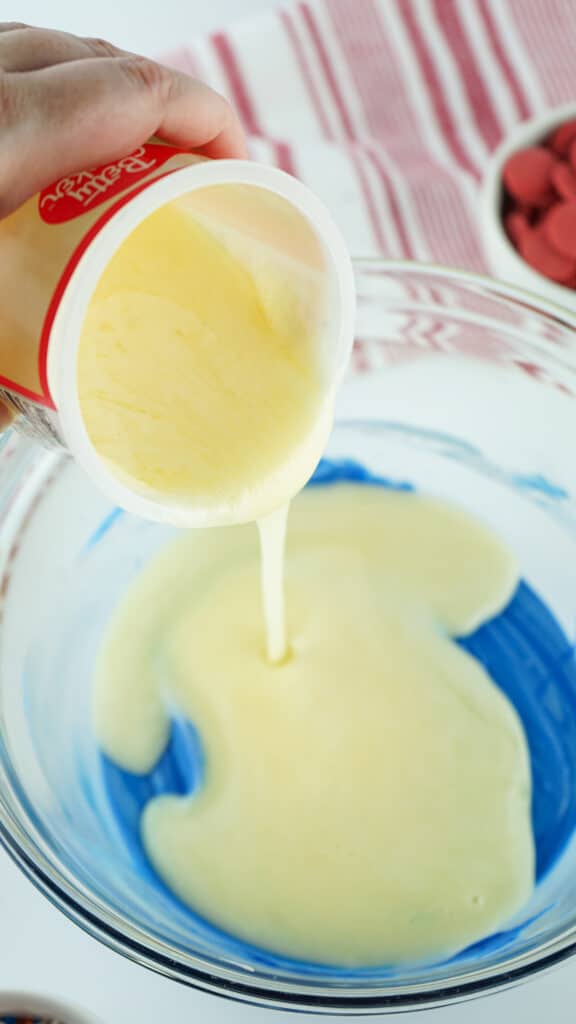
Remove the lids and foil from both frosting containers. Place only one in the microwave on high for 1 minute.
Immediately pour ⅔ of the melted tub of frosting into the bowl of melted white chocolate chips. Stir vigorously until fully combined. Set aside. (This is the white part of the fudge)
Place the other half of the white chocolate chips in another mixing bowl and repeat the melting process in the microwave just like the first batch.
Add the blue dye and stir until no streaks of white appear.
If the blue tint is not dark enough, add a bit more dye at a time until the desired color is reached. Place the other can of frosting in the microwave for 1 minute on high. Quickly add ⅔ of it to the blue mixture and stir vigorously until fully combined. Set aside.
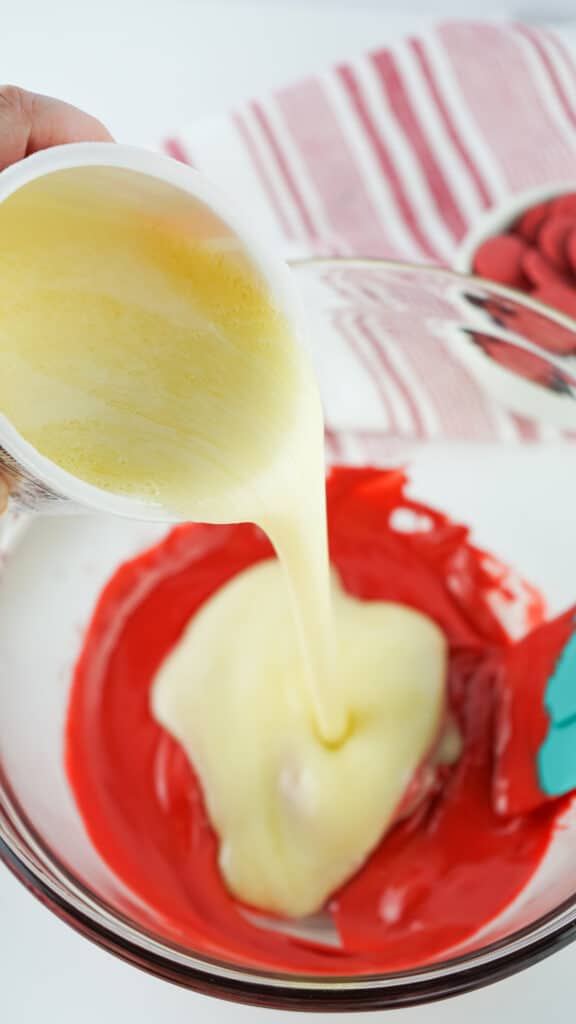
Place the red candy melts in another mixing bowl and repeat the melting process in the microwave like the chocolate chips.
Once creamy and smooth, add the remaining frosting from both containers and stir vigorously until combined.
You will now have three colors – red, white, and blue.
Pour the three colors into the pan, alternating the colors. I like to do this in three separate batches so it’s a good mixture of the colors and it makes a pretty swirl.
Start with the white color, using about 1/3.
Add a blue layer and a red layer. Repeat two more times, using all of the colors. Do not stir!

Once all the colors have been added to the pan, tap it lightly on the counter to ensure the fudge is even.
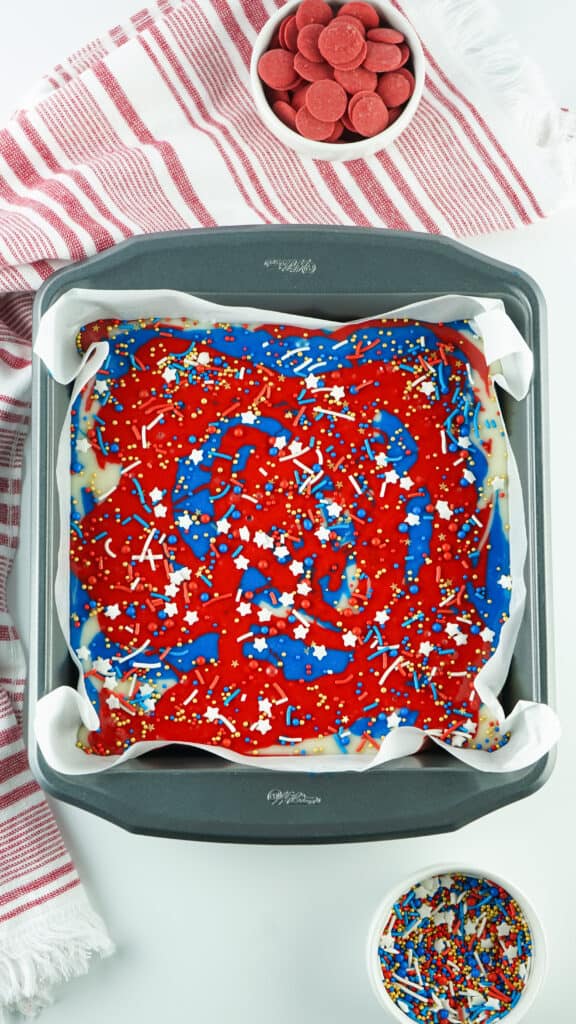
Cover the top in sprinkles before setting the fudge aside for about 8 hours or until hardened.

How To Store Red, White, and Blue Fudge
You can store the fudge in an airtight container in the pantry for up to 5 days, in the fridge for up to 2 weeks, and in the freezer for up to 3 months. Just always use an airtight container, whatever method you choose.
You’ll Also Love These Recipes!
- Candy Bar Fudge
- Chocolate Fudge Pecan Pie
- Peanut Butter Cup Fudge
- Chocolate Peanut Butter Fudge (Fast Fudge)
Red, White And Blue Fudge
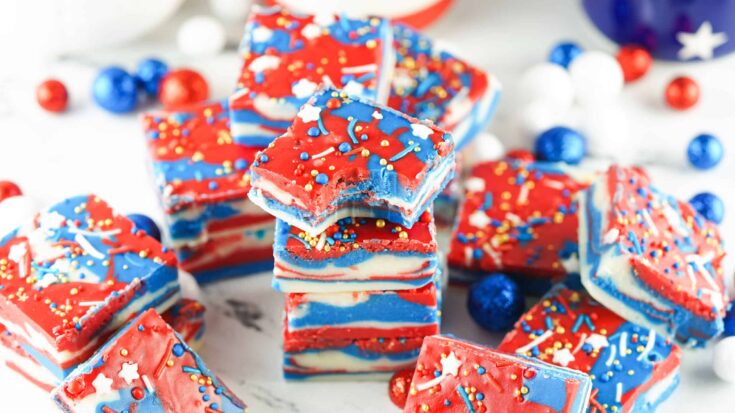
Red, White and Blue Fudge has a vanilla fudge base with gorgeous, bright shades of blue and red swirled in and topped with adorable patriotic sprinkles.
Ingredients
- 2 Tubs White Frosting (16 ounces each)
- 2 Cups White Chocolate Chips
- 1 Cup Red Candy Melts
- ½ Teaspoon Blue Oil Based Food Dye
- Patriotic Sprinkles
Items Needed:
- 8x8 Pan
- Parchment Paper
Instructions
- Line an 8x8 pan with parchment paper and then set aside.
- Place half of the white chocolate chips in a medium, microwave-safe bowl and microwave on high for 2-3 minutes, pausing every 30 seconds to stir the chips. It’s ready to go once the chocolate chips turn creamy and smooth, without lumps, when stirred.
- Remove the lids and foil from both frosting containers. Place only one in the microwave on high for 1 minute. Immediately pour ⅔ of the melted frosting into the bowl of melted white chocolate chips. Stir vigorously until fully combined. Set aside.
- Place the other half of the white chocolate chips in another mixing bowl and repeat the melting process in the microwave just like the first batch.
- Add the blue dye and stir until no streaks of white appear. If it’s not dark enough, add a bit more dye at a time until the desired color is reached.
- Place the other tub of frosting in the microwave for 1 minute on high.
- Quickly add ⅔ of it to the blue mixture and stir vigorously until fully combined. Set aside
- Place the red candy melts in another mixing bowl and repeat the melting process in the microwave like the chocolate chips.
- Once creamy and smooth, add the remaining frosting from both containers and stir vigorously until combined.
- Take your three colors and alternate pouring them into the prepared pan. I tend to do this in three separate batches so it’s a good mixture of the colors, for a pretty swirl.
- Once all the colors have been added to the pan, tap it on the counter and ensure it’s nice and even.
- Cover the top in sprinkles before setting the fudge aside for about 8 hours or until hardened. Slice and enjoy!
Notes
- DO NOT stir or attempt to swirl the colors once they’ve been poured into the pan together. This will mix the colors and you’ll get more purple than red, white, and blue.
- Be sure to set the fudge in a flat spot or it will shift and cause the fudge to be thicker in some areas and thinner in others. It will also cause it to leave wrinkles on the top of the fudge.
- You can store the fudge in an airtight container in the pantry for up to 5 days, in the fridge for up to 2 weeks, and in the freezer for up to 3 months. Just always use an airtight container, whatever method you choose.
- If your chocolate mixtures start to get too thick to easily pour into the pan, simply place it back in the microwave for 15 seconds. Stir and keep pouring.
- You can use other sprinkles if you prefer, but these look so good on the fudge.
- You can use blue candy melts in place of the blue dye and 1 cup of white chocolate chips. Simply replace both of those ingredients with 1 cup of blue candy melts.
- Depending on how big or small you cut the fudge will decide how many pieces you get. I usually cut them into 1-2-inch square pieces.
- The frosting amount doesn’t have to be perfect. I tend to just eyeball it. As long as it’s not terribly off, it will be just fine.
- I used the AGQ dye brand for the oil-based color for this recipe and it worked amazingly. Please note that other brands will vary in color when used.
Recommended Products
As an Amazon Associate and member of other affiliate programs, I earn from qualifying purchases.


Nutrition Information
Yield
24Serving Size
1Amount Per Serving Calories 121Total Fat 5gSaturated Fat 3gTrans Fat 0gUnsaturated Fat 2gCholesterol 3mgSodium 19mgCarbohydrates 19gFiber 0gSugar 15gProtein 1g