
It’s beginning to look a lot like Christmas and I’m excited to be a part of the 12 Days of Christmas Blog Hop. We’re kicking off day one with DIY Ornaments and I hope you enjoy making these easy Peppermint Candy Ornaments (keep reading for the easy directions). Be sure and stop by all the blogs for more DIY Ornament Inspiration.
Welcome to the third annual 12 Days of Christmas Blog Hop!
Stop by every day from December first through the twelfth for new ideas you can use to make your season brighter!
Meet Your Hosts
They have all been busy as Elves creating, decorating, cooking and crafting tons of new ideas for you to try this holiday season!
Shirley~Intelligent Domestications I Alli~An Alli Event I Michelle~Our Crafty Mom I Marie~DIY Adulation
Erlene~My Pinterventures I Beverly~Across The Blvd. I Debra~Shoppe No. 5 I Victoria~Dazzle While Frazzled
Megan~C’mon Get Crafty I Michelle~Michelle James Designs I Amanda~Domestically Creative
Deborah~Salvage Sister & Mister I Jeanie~Create & Babble I Sherry~Olives & Okra
Jenny~Cookies Coffee & Crafts I Emily~Domestic Deadline I Bonbon~Farmhouse 40
Leanna~Of Faeries & Fauna I Pam Larmore~P.S. I Love You Crafts I Kelly~North Country Nest I Marie~The Inspiration Vault
Gail~Purple Hues and Me I Lynne~My Family Thyme I Karen~Dragonfly and Lily Pads I Trisha~Blowing Away Out West
Tomika~Life In Pumps I Rachee~Say it, “Rah-Shay” I Lorrin~Embrace The Perfect Mess
I Serena~The Weekend Jaunts I Terri~Christmas Tree Lane I Jessica~A Southern Mother
Sam~Raggedy Bits I Cyn~Creative Cynchronicity
Valeria~Val Event Gal I Yami~The Latina Next Door I Jeannee~Centsably Creative I Tania~Little Vintage Cottage
Lauren~Wonderfully Made I Vanessa~DIY 180 I Kimberly~A Wonderful Thought I Kim~Everyday Parties I Dru~Polka Dot Poplars
Peppermint Candy Trays and Ornaments
A few years ago, I joined the Peppermint Candy Tray craze. I made several holiday trays by simply melting peppermint candies in a cake pan and once cooled, I had several festive holiday trays. My sister made a giant tray and it was amazing.
This time around, I’m making Peppermint Candy Ornaments. I have a gazillion metal cookie cutters that have a place of honor on a top shelf in my mudroom. There’s no room in the kitchen. Since I rarely use them to bake cookies, they are finally earning their keep.
If you need a craft project to do with the kids, this one is it. Of course, you’ll need to handle the part where you use the oven. Kids come in handy when it’s time to unwrap all the peppermints and they love to fill the cookie cutters with the peppermints.
Peppermint Candy Ornaments
For this project, you’ll need:
- Peppermint Candies
- Metal Cookie Cutters
- Nonstick Cooking Spray
- Parchment Paper
Preheat the oven to 350º F.
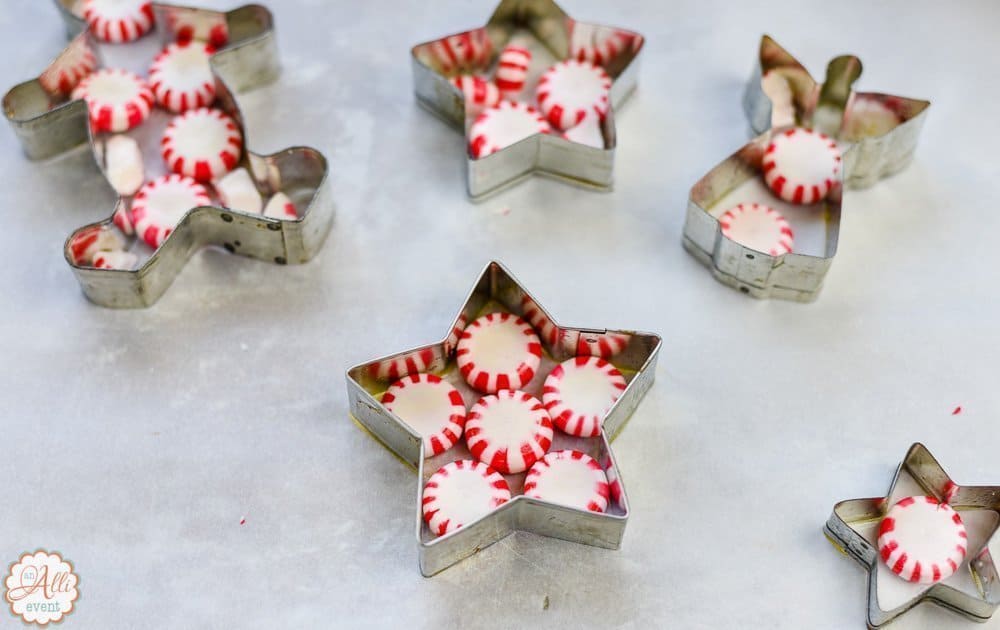
Line a baking sheet with parchment paper. Spray the insides of metal cookie cutters with cooking spray.
Arrange peppermint candies inside the cookie cutters leaving a little space between the candies.
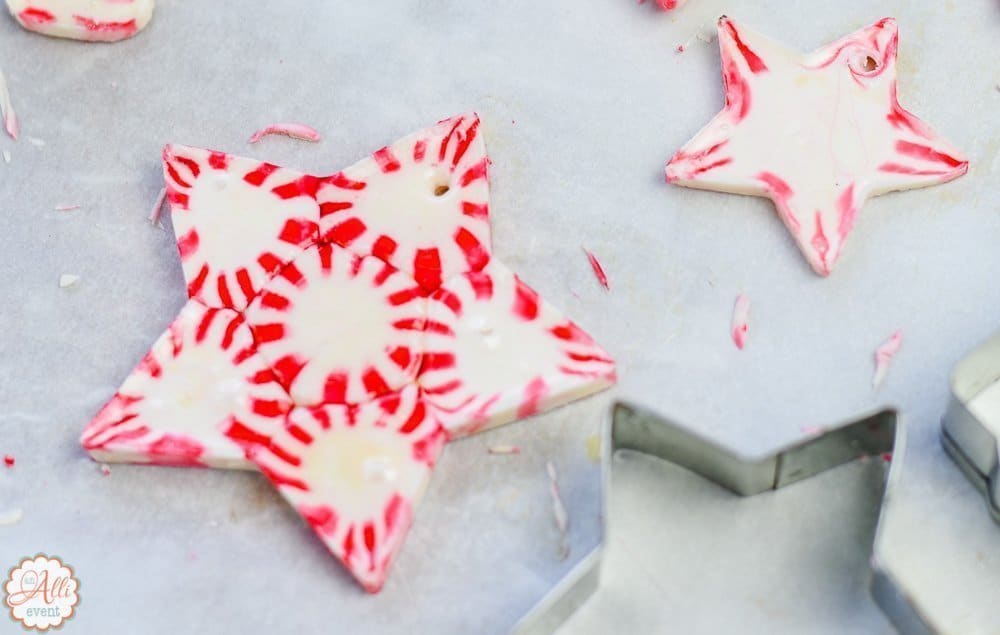
Bake for 5-6 minutes. Watch closely and remove from the oven once the candies are melted. Cool for one minute and make a small hole in the top of the candy with a greased skewer.
Cool completely and gently pop the candies out of the cookie cutters. Be gentle! I broke a Gingerman’s arm off when I pushed too hard. Oops!
It’s best to gently pull the metal cookie cutter away from the peppermint ornament before popping out.
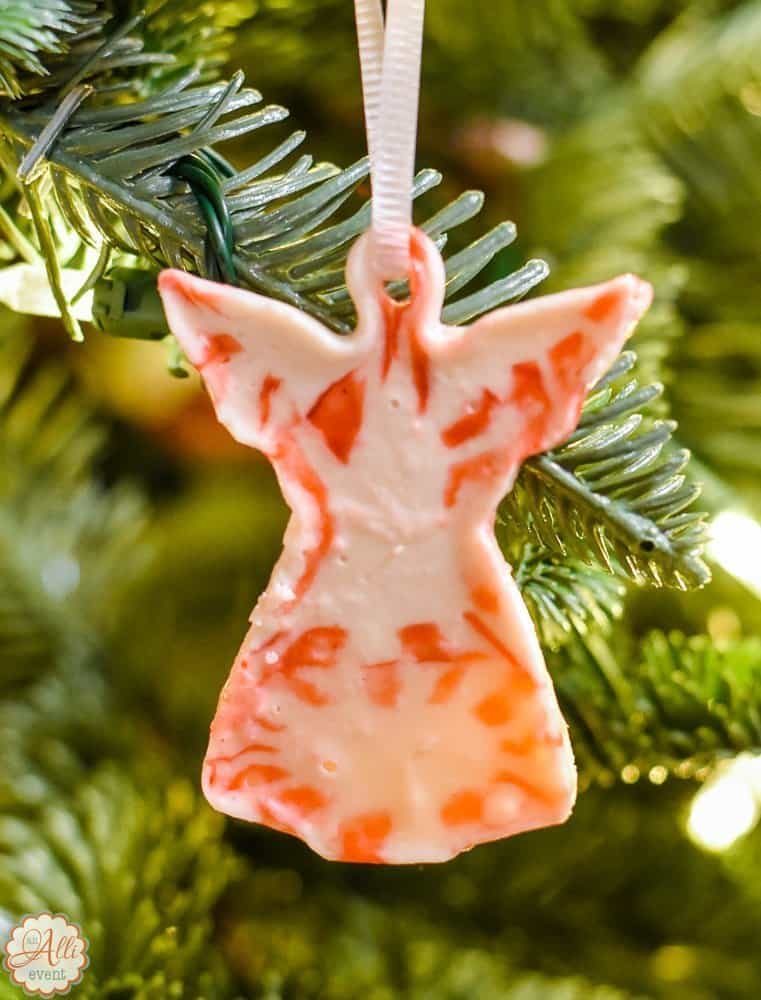
Your Peppermint Candy Ornaments are now ready to hang on the tree! Wasn’t that easy?

You can also use other colors of peppermints to match your decor.
Or how about using the ornaments as place cards for your holiday table? Let your imagination run wild with this one.
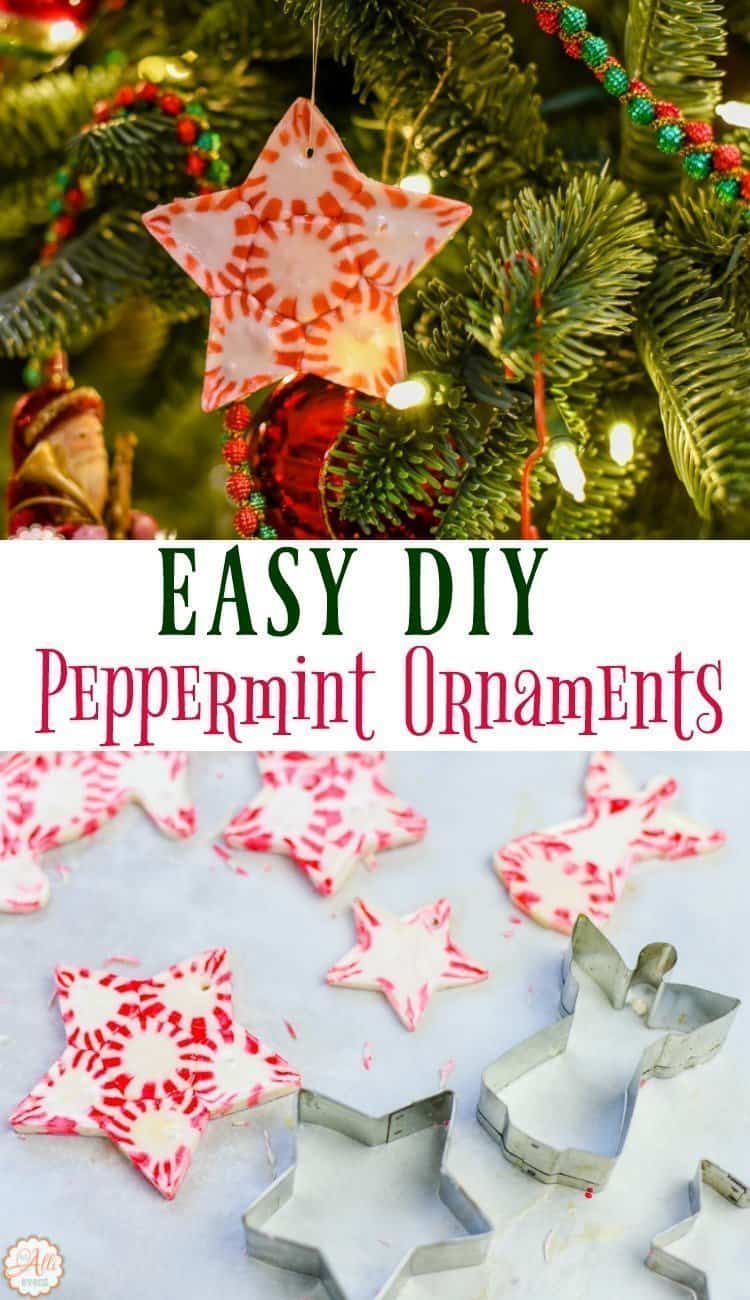
Don’t Forget to Pin It!
You May Also Like
- Homemade Peppermint Candy Serving Tray
- White Chocolate Peppermint Mousse Pie
- Peppermint Buttons
- White Peppermint Funfetti Cake Balls
- Homemade Hot Cocoa Mix
Peppermint Candy Ornaments

The grandkids love making Peppermint Candy Ornaments. It's an easy and fun craft for the entire family. And these ornaments are so pretty hanging on the Christmas tree.
Materials
- Peppermint Candies
- Metal Cookie Cutters
- Nonstick Cooking Spray
- Parchment Paper
Tools
- oven
- baking sheet
Instructions
- Preheat the oven to 350ºF. Line a baking sheet with parchment paper.
- Spray the insides of metal cookie cutters with cooking spray. Arrange peppermint candies inside the cookie cutters leaving a little space between the candies.
- Bake for 5-6 minutes. Watch closely and remove from the oven once the candies are melted. Cool for one minute and make a small hole in the top of the candy with a greased skewer. Cool completely and gently pop the candies out of the cookie cutters.
Recommended Products
As an Amazon Associate and member of other affiliate programs, I earn from qualifying purchases.
-
 Pam Original No-Stick Cooking Spray 100% natural Canola Oil (2 pack - 12oz each can)
 -
Christmas Cookie Cutter Set-Gingerbread Men, Snowflake, Reindeer, Angel, Christmas Tree, Snowman, Santa Face and More Cookie Cutters molds with 100-Pack Candy Bags. (9 piece)
-
Gorilla Grip Original Non Stick Baking Cookie Sheets, Single Oven Bakeware Sheet, Silicone Handles, Multi Purpose Professional Cooking Pan for Bakers and Cooks, 17.3 Inch x 11.75 Inch, Black
-
Reynolds Kitchens Parchment Paper Roll, 60 Square Feet
-
Brach's Star Brite Candy, Peppermint, 110 Count,Pack of 1


Be sure to visit our fellow 12 Days of Christmas Bloggers below for even more creative ideas this holiday season!