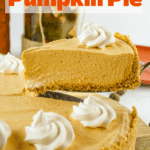
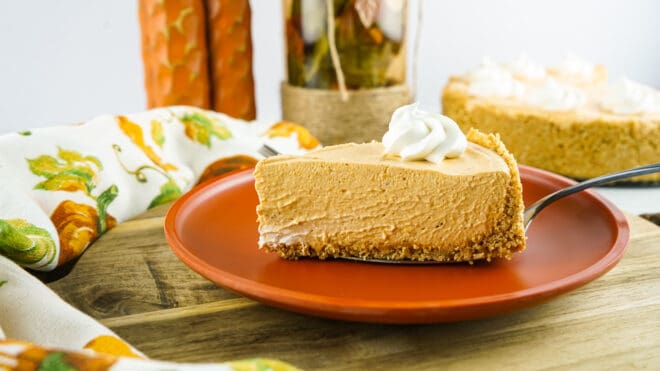
This no-bake pumpkin pie is light, fluffy and so delicious. You won’t miss the traditional pumpkin pie at all. Plus, there’s no baking involved so it frees up your oven space.
Go a different (and easy!) route with your pumpkin pie and make a No-bake Pumpkin Pie instead! Think of it as a pumpkin creme pie, because that’s exactly how it tastes!
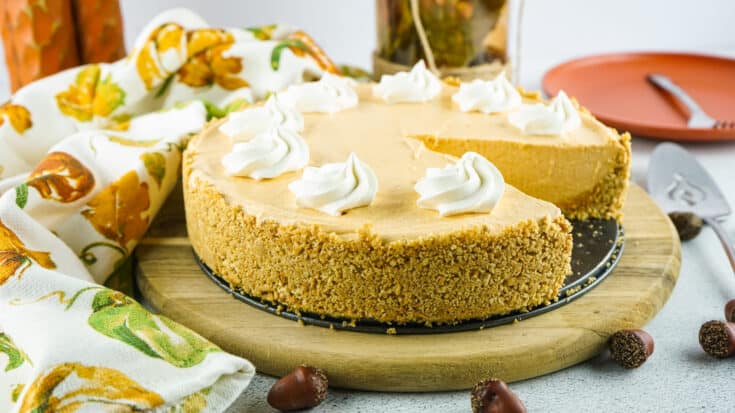
Helpful Hint: Make sure you top it off with some extra whipped topping for a gorgeous finish.

Pumpkin Pie Is Perfect For Thanksgiving Day (or any day!)
Whenever I’m preparing Thanksgiving Dinner, I do as much as I can during the week leading up to the big day.
I love that this no-bake Pumpkin Pie can be made the night before (or a couple of days in advance!) because it needs to rest in the fridge for 8 hours or until set.
You can download my free Thanksgiving Planner here! It really helps keep you organized when hosting Thanksgiving dinner.
Thanksgiving wouldn’t be the same without pumpkin pie, mom’s cornbread dressing, chicken and dumplings, and sweet potato casserole! Those dishes are always on my menu.
We always deep fry our turkey! Once you deep-fry a turkey (so easy), you’ll never go back to the old way. It’s always tender, juicy, and has a crispy skin. I always use my mom’s turkey rub for the seasoning.
Ingredients You’ll Need (full printable recipe card at the end of the post)
Crust:
- 12 Graham Cracker Sheets (a graham cracker sheet is a rectangle before you separate it into 4 crackers)
- 7 Tablespoons Unsalted Butter, melted
Filling:
- 7 cups Mini Marshmallows
- 1 (15 Ounces) can Pure Pumpkin – I use Libby’s 100% pure pumpkin. Do not use pumpkin pie filling!
- 1 tub (16 oz.) whipped topping, thawed (plus more for garnish, totally optional)
- 2 teaspoons Pumpkin Spice
- ¼ teaspoon Salt
- Nonstick Cooking Spray

Items Needed:
- 9-Inch Springform Pan
- Whisk
- Rubber Spatula
How To Make No-Bake Pumpkin Pie
Spray a 9-inch springform pan with nonstick spray and set aside.
Place the graham crackers in a large ziplock bag and crush with a rolling pin, OR place the crackers in a food processor and blend until finely crushed.
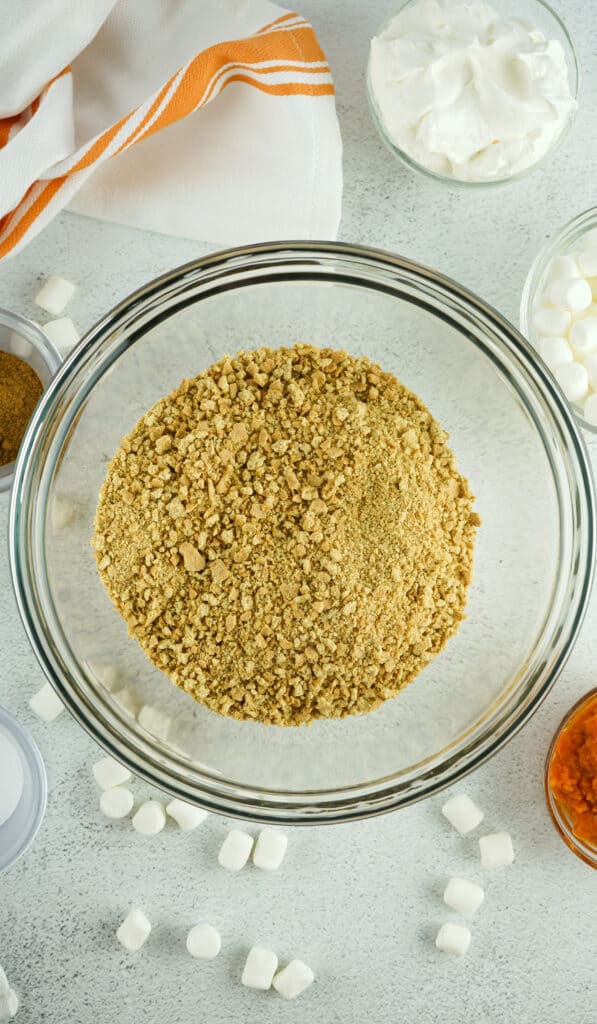
In a medium-sized bowl, add the melted butter to the crushed graham crackers and mix until a wet sand-like mixture forms.
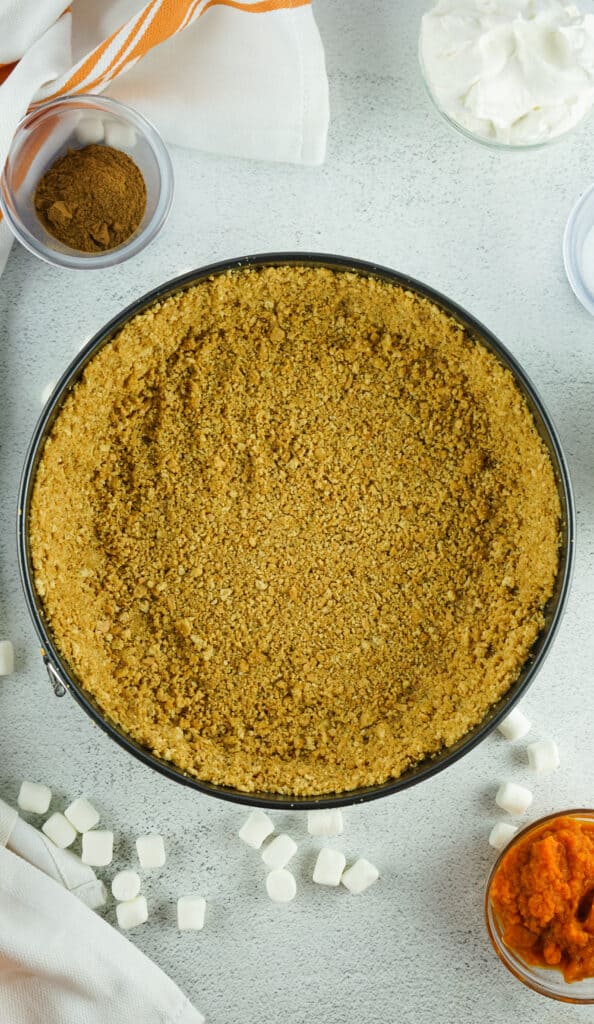
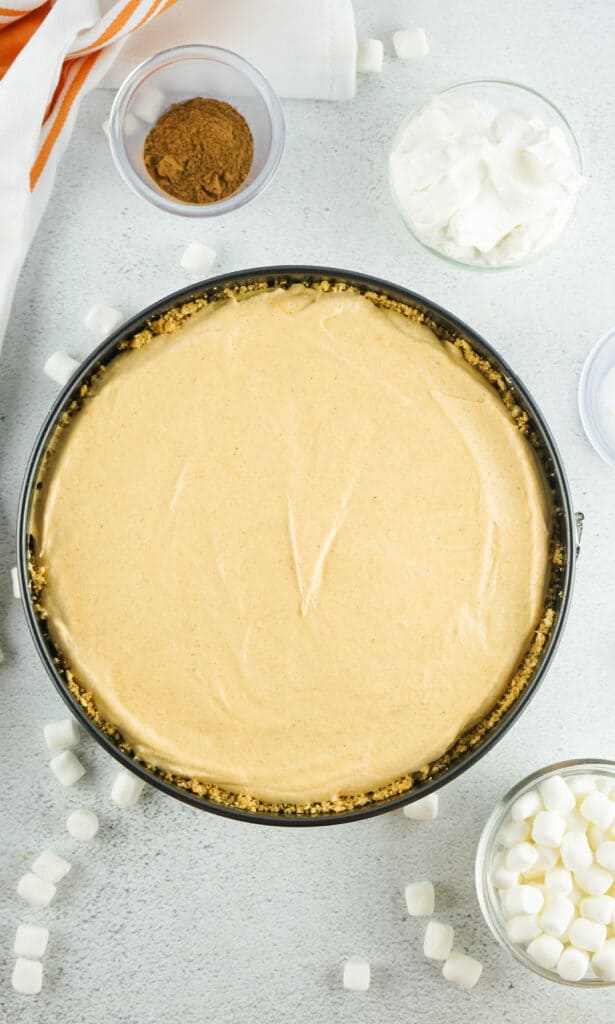
Place the graham cracker mixture in the prepared springform pan and press onto the bottom and almost all the way up the sides. Place in the freezer until ready to use.
Add the marshmallows to a large mixing bowl and microwave for two minutes or until the marshmallows are creamy and not lumpy when stirred.
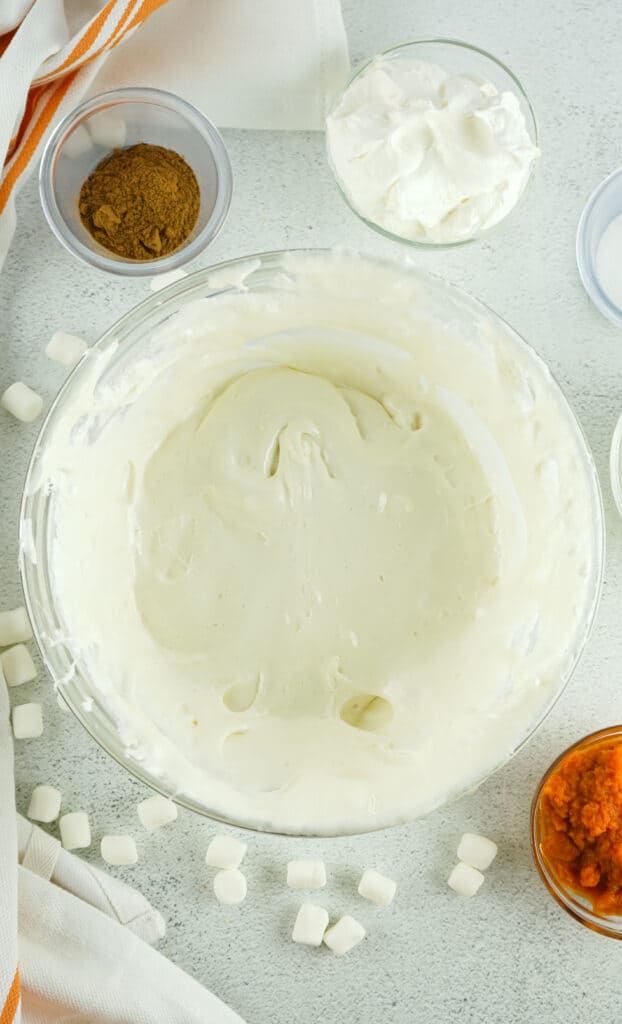
Quickly add the pumpkin, pumpkin spice, and salt to the melted marshmallows and stir well until fully combined.
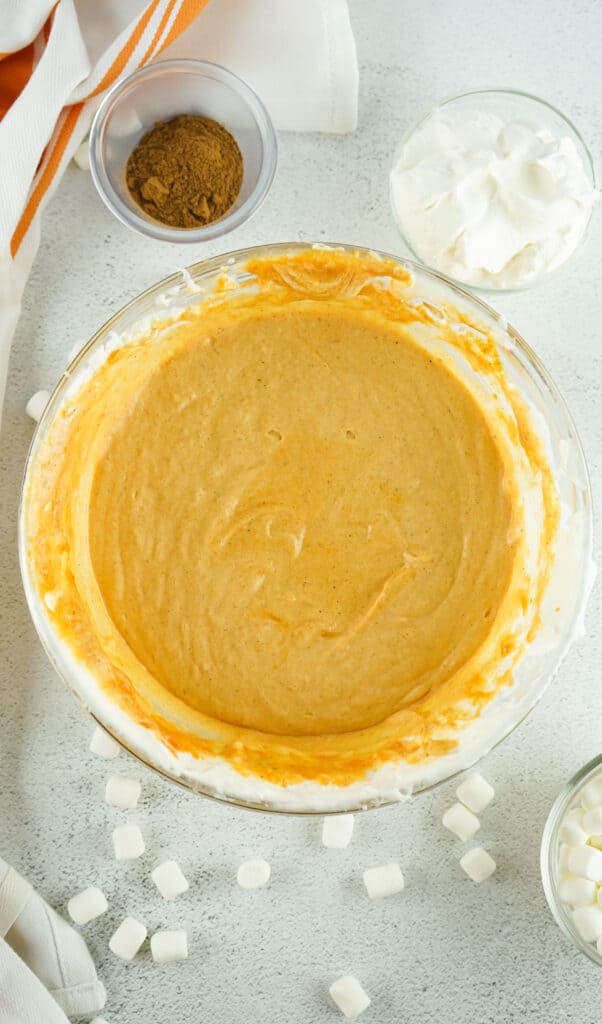
Add the whipped cream and then whisk until well combined. Pour into the crust and spread evenly with a spoon.
Refrigerate overnight (at least 8 hours) or until set and able to be sliced. Remove the band of the springform pan before serving.
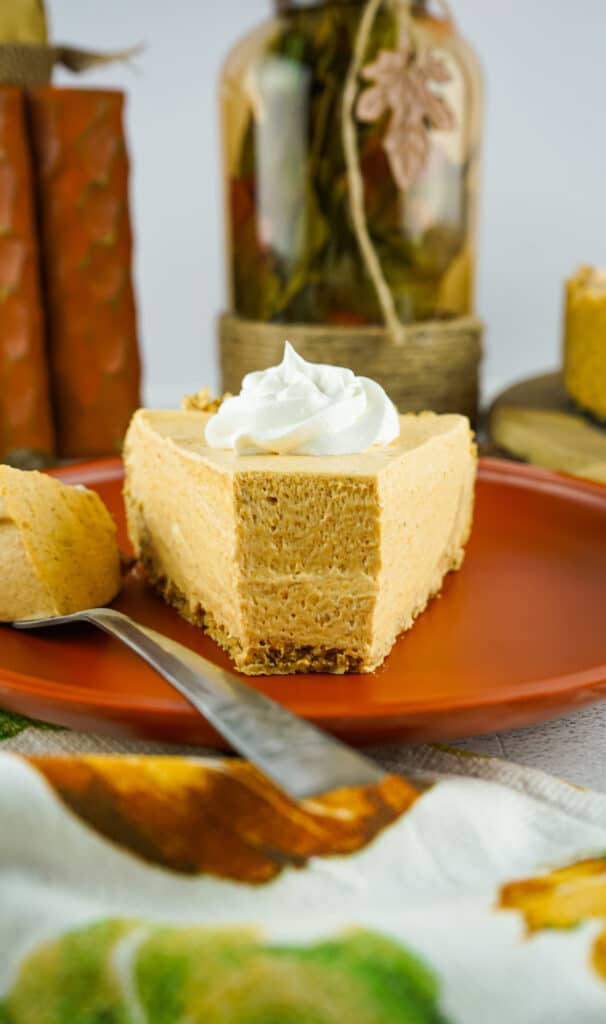
Top with dollops of whipped cream, if desired.
How To Store Leftover No-Bake Pumpkin Pie
If you have any leftovers, refrigerate the pie, covered, for up to 5 days.
To freeze, place the pie in an airtight container and freeze for up to 2 months. Be sure to thaw for about 30 minutes to an hour before serving.
Helpful Tips For Making No-Bake Marshmallow Pumpkin Pie
- Make sure the whipped topping is not frozen! It needs to be thawed for it to properly mix in.
- When mixing in the melted marshmallows, they may leave tiny lumps in the mixture, that’s ok, they mix in once the whipped topping is added.
- If you don’t have a springform pan, you can use a normal pie pan, but it will need to be a deep pie pan, or you can make two 8-inch pies out of this recipe.
- Do not pour your mixture into the crust until you have mixed it well, all the way through to the bottom.
- You don’t need parchment paper for this recipe.
- You don’t need to cook the crust for this recipe.
No-Bake Pumpkin Pie
No-Bake Pumpkin Pie is light, fluffy, and delicious.
Ingredients
Crust:
- 12 Graham Cracker Sheets
- 7 Tablespoons Unsalted Butter, melted
Filling:
- 7 Cups Mini Marshmallows
- 1 (15 Ounces) can pure Pumpkin - I use Libby's 100% pure pumpkin. Do not use pumpkin pie filling!
- 1 tub (16 oz.) whipped topping, thawed (plus more for optional garnish)
- 2 teaspoons Pumpkin Spice
- ¼ teaspoon Salt
- Nonstick Cooking Spray
Items Needed:
- 9-Inch Springform Pan
- Whisk
- Rubber Spatula
Instructions
- Spray a 9-inch springform pan with nonstick spray and set aside.
- Place the graham crackers in a large ziplock bag and crush into tiny pieces using a rolling pin, OR place them in a food processor and blend until finely crushed.
- In a large bowl, add melted butter to the crushed graham crackers and mix until a wet sand-like mixture forms.
- Place the graham cracker mixture in the prepared springform pan and press on the bottom and almost all the way up the sides. Place in the freezer until ready to use.
- Add the marshmallows to a large mixing bowl and microwave for two minutes or until the marshmallows are creamy and not lumpy when stirred.
- Quickly add the pumpkin puree, pumpkin spice, and salt to the melted marshmallows and stir well until fully combined.
- Add the whipped topping and then whisk until well combined.
- Pour into the crust and spread evenly with a spoon.
- Refrigerate overnight (8 hours) or until set and able to be sliced. Remove the band from the springform pan before serving.
- Top with dollops of whipped cream, if desired.
Notes
- Make sure the whipped topping is not frozen! It needs to be thawed for it to properly mix in.
- When mixing in the melted marshmallows, they may leave tiny lumps in the mixture, that’s ok, they mix in once the whipped topping is added.
- If you don't have a springform pan, you can use a normal pie pan, but it will need to be a deep pie pan, or you can make two 8-inch pies out of this recipe.
- Do not pour your mixture into the crust until you have mixed it well, all the way through to the bottom.
- You don’t need parchment paper for this recipe.
- You don’t need to cook the crust for this recipe.
- For storage, you can place the pie in a sealed container and freeze it for up to 2 months. Be sure to thaw for about 30 minutes to an hour before serving. You can also refrigerate it, covered, for up to 5 days
Recommended Products
As an Amazon Associate and member of other affiliate programs, I earn from qualifying purchases.
-
 Food Grade Silicone Rubber Spatula Set for Baking, Cooking, and Mixing High Heat Resistant Non Stick Dishwasher Safe BPA-Free
 -
NileHome Stainless Steel Whisk Set 8" 10" 12" Kitchen Whisk Balloon Whisk Kitchen Wisk Wire Whisks for Cooking, Whisking, Blending, Beating, Stirring-3 Pack…
-
9 Inch Springform Pan Baking Mold Round Leakproof Nonstick Removable Bottom Bakeware for Cake, Cheesecakes, Pizza, and Quiches (1, 9 Inch)


Nutrition Information
Yield
8Serving Size
1Amount Per Serving Calories 378Total Fat 13gSaturated Fat 7gTrans Fat 0gUnsaturated Fat 5gCholesterol 27mgSodium 278mgCarbohydrates 66gFiber 5gSugar 32gProtein 3g