
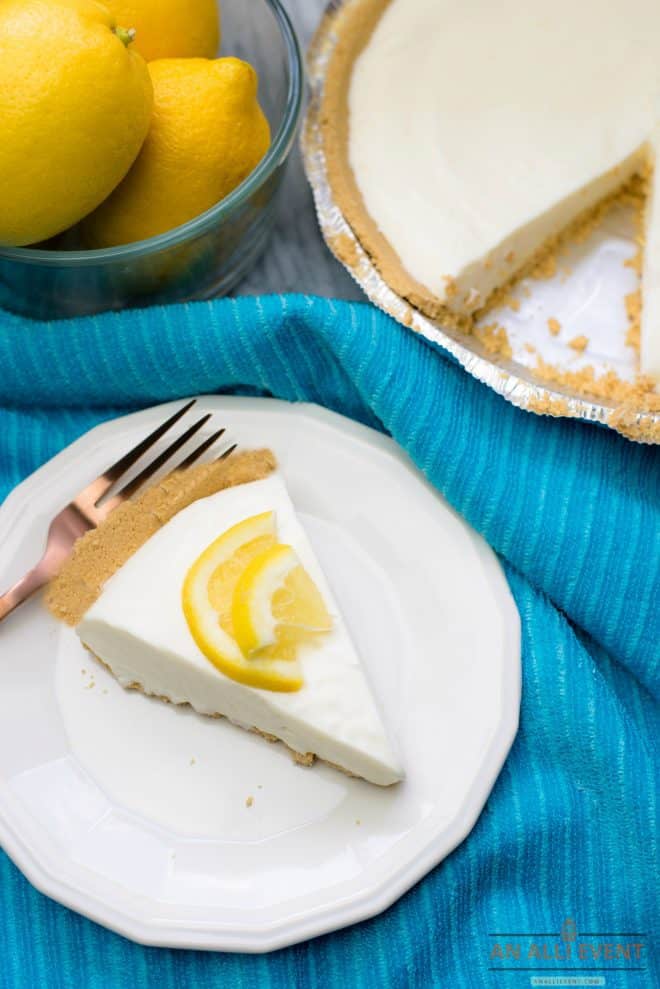
Lemon Icebox Pie is an easy pie to make. You can use yellow food coloring to make this pie look more lemony but I don’t ever use it. I just garnish with a few lemon slices so everyone knows it’s full of tart lemony flavor.

Sometimes I love to make desserts that take a while to create, like my delicious Meyer Lemon Tart. It’s well worth the time! And sometimes I like to make desserts like Lemon Icebox Pie. You can’t mess up this one. It’s almost too easy.
Easy Lemon Icebox Pie Ingredients
To make this pie, you’ll need 4 ingredients:
- Graham Cracker Crust (store-bought or homemade)
- Sweetened Condensed Milk
- Lemon Juice (Fresh squeezed is best)
- Lemon Zest
- Heavy Whipping Cream, whipped
Difference Between Whipping Cream and Heavy Whipping Cream
There was a time when I didn’t know there was a difference between whipping cream and heavy whipping cream. Both of these products whip up quickly. Heavy cream is the richest (at least 36% fat) and whipping cream fat content is usually between 30-36%. The more fat, the more stable the whipped cream will be.
Whipped cream made with whipping cream tends to be softer and is perfect for topping desserts. Whipped cream made with heavy whipping cream is usually more dense and firm. Since this recipe needs to be firm, I use heavy whipping cream.
How To Whip Cream
I always chill my mixing bowl and beaters for about 10 minutes in the freezer before whipping cream. Start mixing on low and then increase to medium-high. Whip until the cream reaches stiff peaks, being careful not to overwhip.
How To Make a Homemade Graham Cracker Crust
If you want to make your own graham cracker crust, you will need:
- 1-1/4 cups graham cracker crumbs
- 1/4 cup sugar
- 1/3 cup melted butter
In a small bowl, mix together crumbs and sugar. Add melted butter and toss until combined. Spread the crumbs evenly in a 9-inch pie plate by pressing onto the bottom and sides of the pie plate. Refrigerate for one hour or until firm OR bake at 375º for 6 minutes and let cool.
Helpful Tip: I use a metal measuring cup to press the crumbs in place.
Easy Lemon Icebox Pie
Before I begin making this easy pie, I place the mixing bowl and whisk attachment of my stand mixer in the freezer.
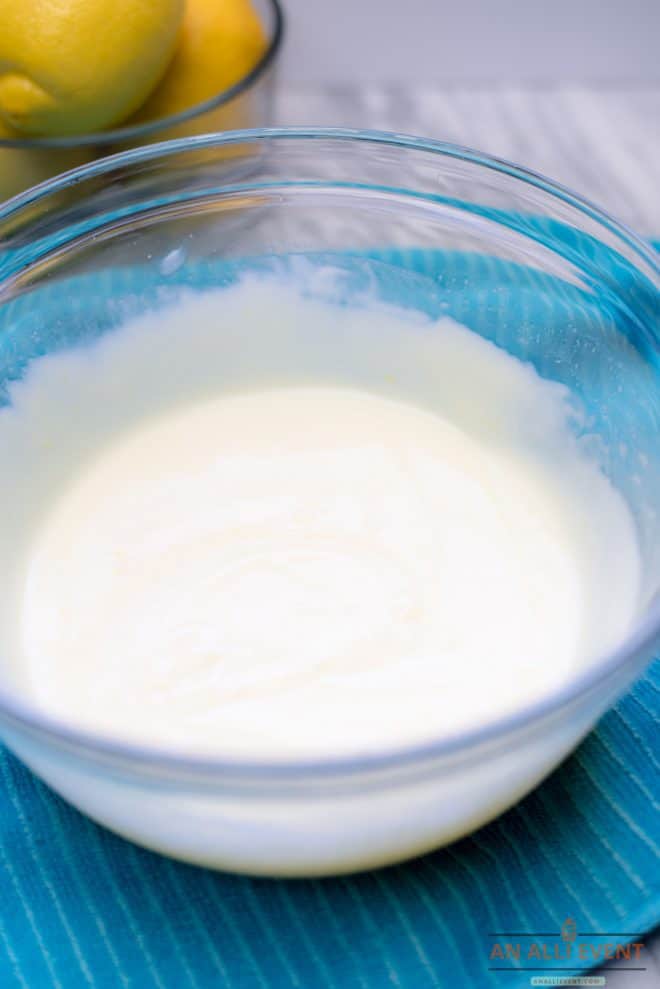
Combine the sweetened condensed milk, lemon juice, and lemon zest in a medium bowl. Mix well.
Remove the mixing bowl and whisk attachment from the freezer and whip the cream until stiff peaks, being careful not to overwhip.
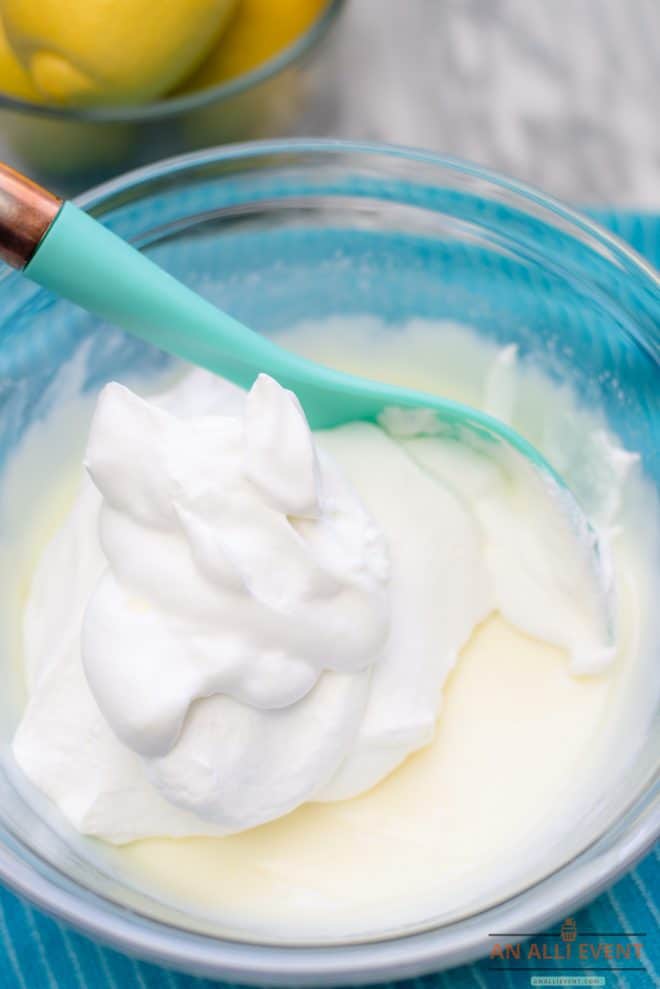
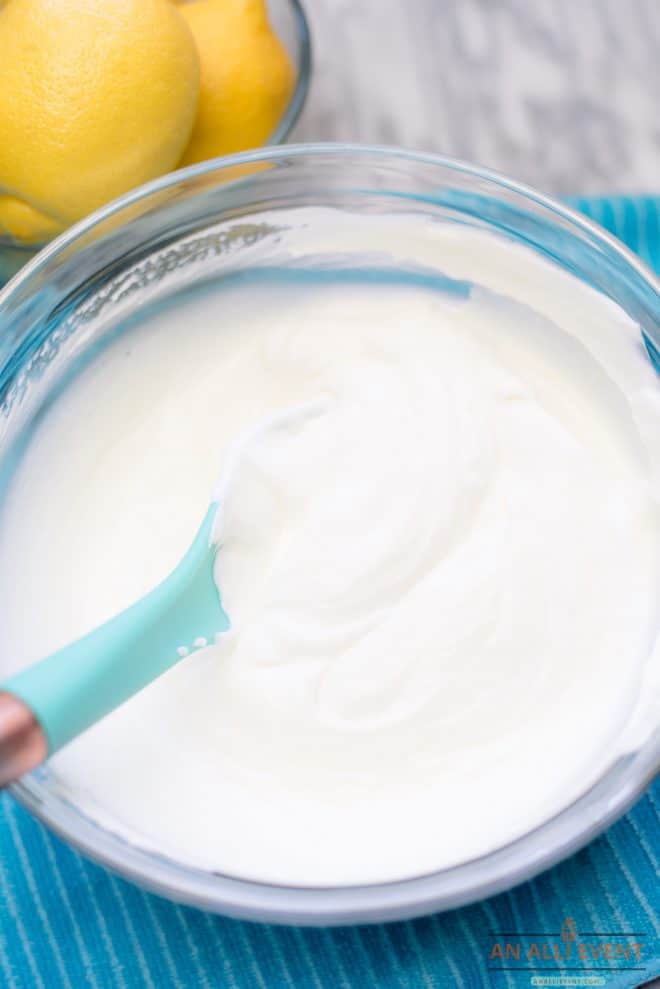
Fold the whipped cream into the sweetened condensed milk mixture.
Pour in a graham cracker crust and chill for 3-4 hours.
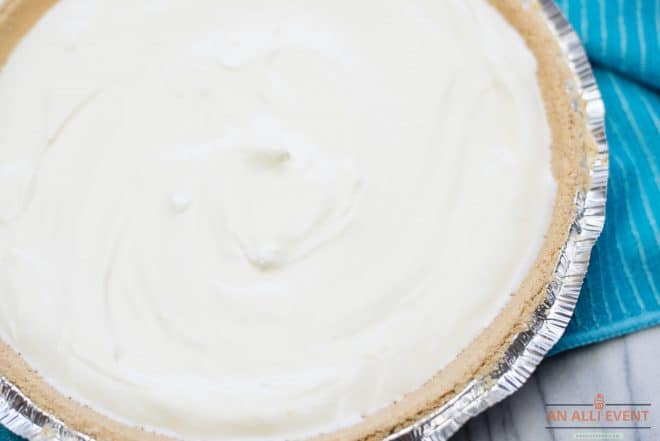
This pie is so easy and so good!

You May Also Like These Recipes
- Chocolate Fudge Pecan Pie
- Best Key Lime Pie
- Coffee Ice Cream Pie
- Kiwi Pistachio Pie
- Grapefruit Pie
- Tropical Punch Kool-Aid Pie
- Frozen Pina Colada Pie
- Sheet Pan Pecan Pie
Lemon Icebox Pie
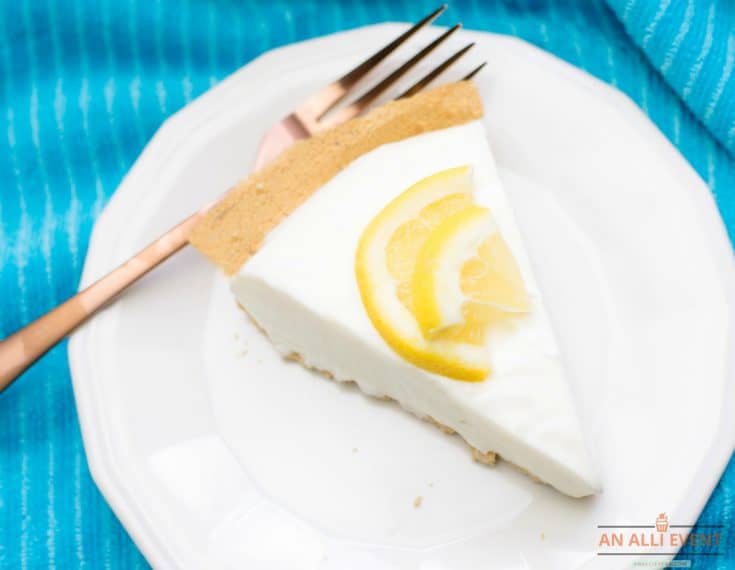
Lemon Icebox Pie is a cool and creamy pie on a crisp graham cracker crust. This pie is easy to make and is always a hit with family and friends.
Ingredients
- 1 (14 oz.) can sweetened condensed milk
- 1/2 cup lemon juice
- 1 teaspoon lemon zest
- 1 cup heavy whipping cream, whipped
- 1 (9-inch) graham cracker crust
Instructions
- Combine sweetened condensed milk, lemon juice and zest in a medium-sized bowl. Fold in whipped cream.
- Pour filling into a graham cracker crust. Chill for 3 hours or overnight. Store leftovers in the refrigerator.
Nutrition Information
Yield
6Serving Size
1Amount Per Serving Calories 162Total Fat 15gSaturated Fat 10gTrans Fat 1gUnsaturated Fat 5gCholesterol 47mgSodium 29mgCarbohydrates 6gFiber 0gSugar 5gProtein 2g
